
An Emergency Evacuation Plan is a critical component of any workplace safety program. At the beginning of any emergency—whether fire, chemical spill, gas leak, earthquake, or active threat—employees must know exactly what to do and where to go.
A strong evacuation plan can save lives, reduce panic, and ensure compliance with health and safety laws.
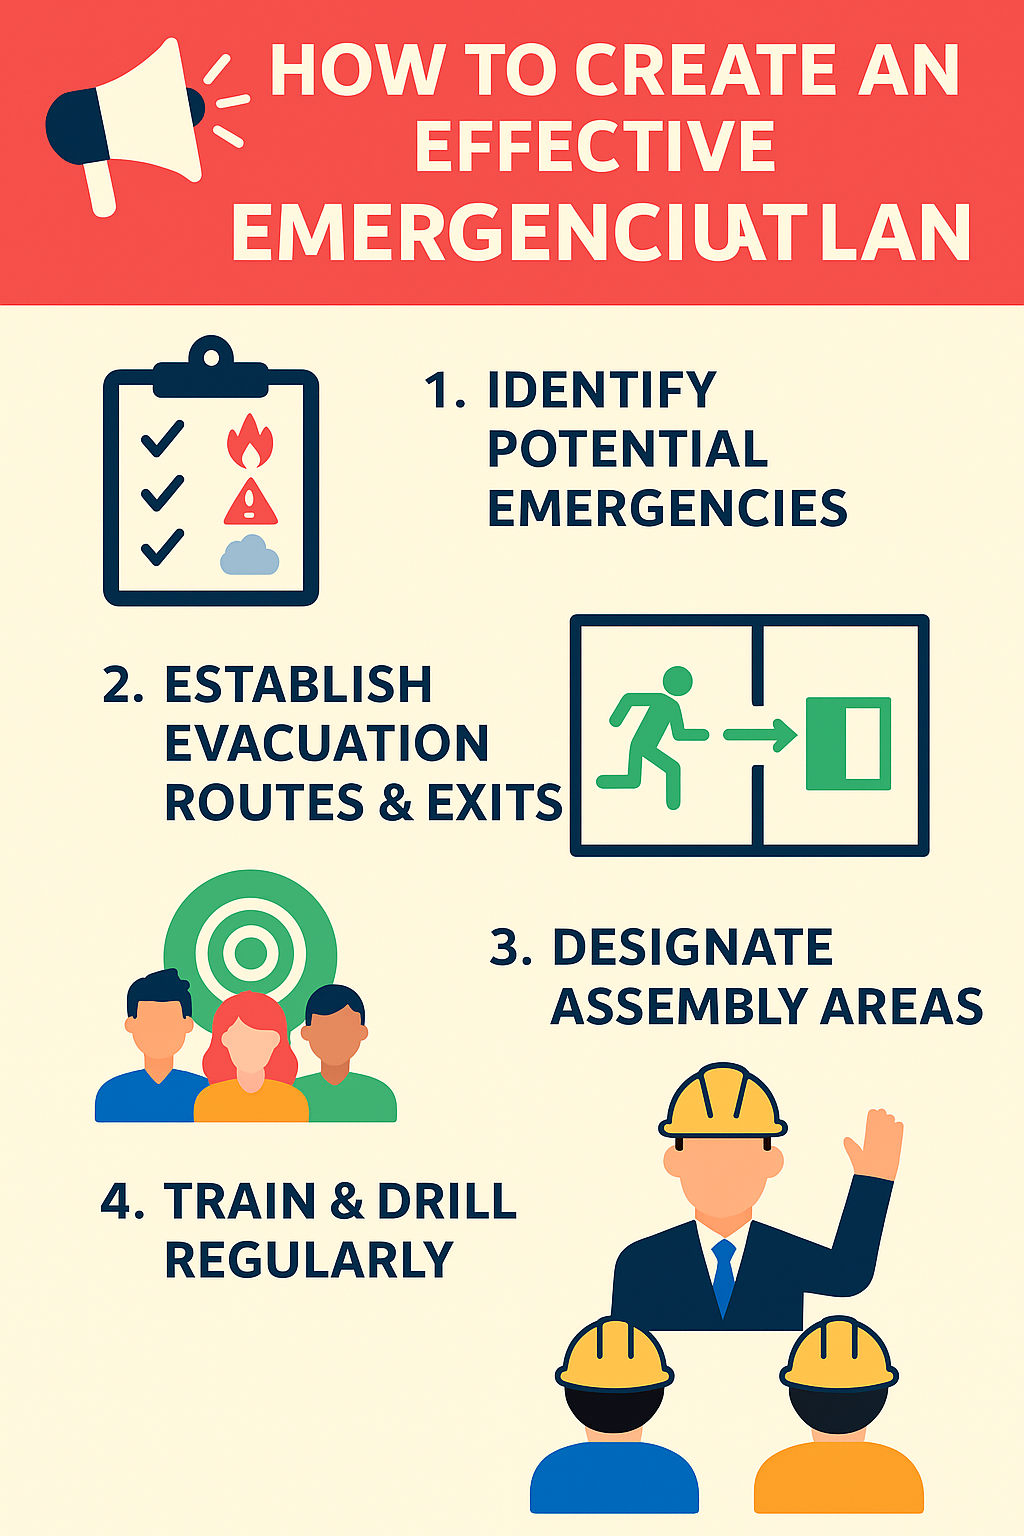
This guide will walk you through how to create an effective emergency evacuation plan, step by step.
- Why an Emergency Evacuation Plan Is Essential
- Step 1: Identify All Potential Emergencies
- Step 2: Designate Emergency Roles and Responsibilities
- Step 3: Establish Clear Evacuation Routes and Exits
- Step 4: Determine Assembly Areas and Headcount Procedures
- Step 5: Create a Communication Strategy
- Step 6: Account for Special Needs and Visitors
- Step 7: Train, Drill, and Update the Plan Regularly
- Step 8: Document and Share Your Plan
- Example Emergency Evacuation Plan Checklist
- Useful Tools and Templates
- Conclusion
Why an Emergency Evacuation Plan Is Essential
An emergency is no time for improvisation. According to OSHA, every workplace must have a written emergency action plan. In Canada, provincial regulations like those under OHSA and WorkSafeBC also demand proactive emergency planning.
Without a clear plan, chaos can lead to injuries, deaths, and legal consequences. A well-crafted plan ensures:
- Safe evacuation of all individuals
- Quick response to different emergencies
- Coordination with local emergency services
- Clear communication protocols
- Special considerations for people with disabilities
Step 1: Identify All Potential Emergencies
Start by assessing what kinds of emergencies could happen in or near your workplace:
- Fires or explosions
- Chemical spills or gas leaks
- Natural disasters (earthquakes, floods, tornadoes)
- Active shooter or security threats
- Medical emergencies
- Equipment failures or power outages
Use a risk matrix to prioritize which events are most likely or most severe, and design your plan around these.
Internal link: See our guide on How to Conduct a Workplace Hazard Assessment.
Step 2: Designate Emergency Roles and Responsibilities
Assign specific duties to trained individuals, including:
- Evacuation Wardens – guide others out of the building
- First Aid Attendants – respond to injuries
- Shut-Down Coordinators – safely turn off machinery or hazardous operations
- Communication Officers – liaise with emergency services and media
- Sweepers – check all rooms are cleared
Make sure backup personnel are trained in each role in case someone is absent.
Step 3: Establish Clear Evacuation Routes and Exits

Map out all exit points and routes using:
- Floor plans with arrows
- Clearly marked emergency exits
- Signage that’s visible in low visibility
- Unobstructed paths free of clutter
Each floor or department should have at least two evacuation routes. Post maps at eye level throughout the facility and update them when layouts change.
Step 4: Determine Assembly Areas and Headcount Procedures
Designate safe assembly points at a reasonable distance from the building. These should:
- Avoid vehicle access routes for emergency responders
- Have enough space for the entire staff
- Be known to all employees
Set up a muster or roll-call procedure. Use headcounts or sign-in sheets to confirm everyone is safely out.
Step 5: Create a Communication Strategy
During emergencies, information must be shared quickly. Plan for:
- Alarm systems (audible and visual)
- Mass notification systems (email, SMS, PA systems)
- Emergency contact lists
- Two-way radios for on-site coordinators
Also, prepare communication templates for contacting local emergency services and alerting family members.
Step 6: Account for Special Needs and Visitors
Your emergency evacuation plan must include:
- Evacuation assistance for persons with mobility or sensory impairments
- Procedures for visitors, contractors, and non-staff
- Tools like evacuation chairs or buddy systems
- Translation or pictorial signage for non-native speakers
Inclusivity saves lives—ensure no one is left behind.
Step 7: Train, Drill, and Update the Plan Regularly
Training is vital. Employees must understand the plan—not just read it. Include:
- Orientation sessions for new hires
- Annual refresher training
- Evacuation drills at least twice a year
After each drill, review performance: What worked? What didn’t? Then revise the plan accordingly.
Step 8: Document and Share Your Plan
Your emergency evacuation plan should be:
- Written, clear, and accessible
- Stored both digitally and in print
- Available in multiple locations (break rooms, entrances, etc.)
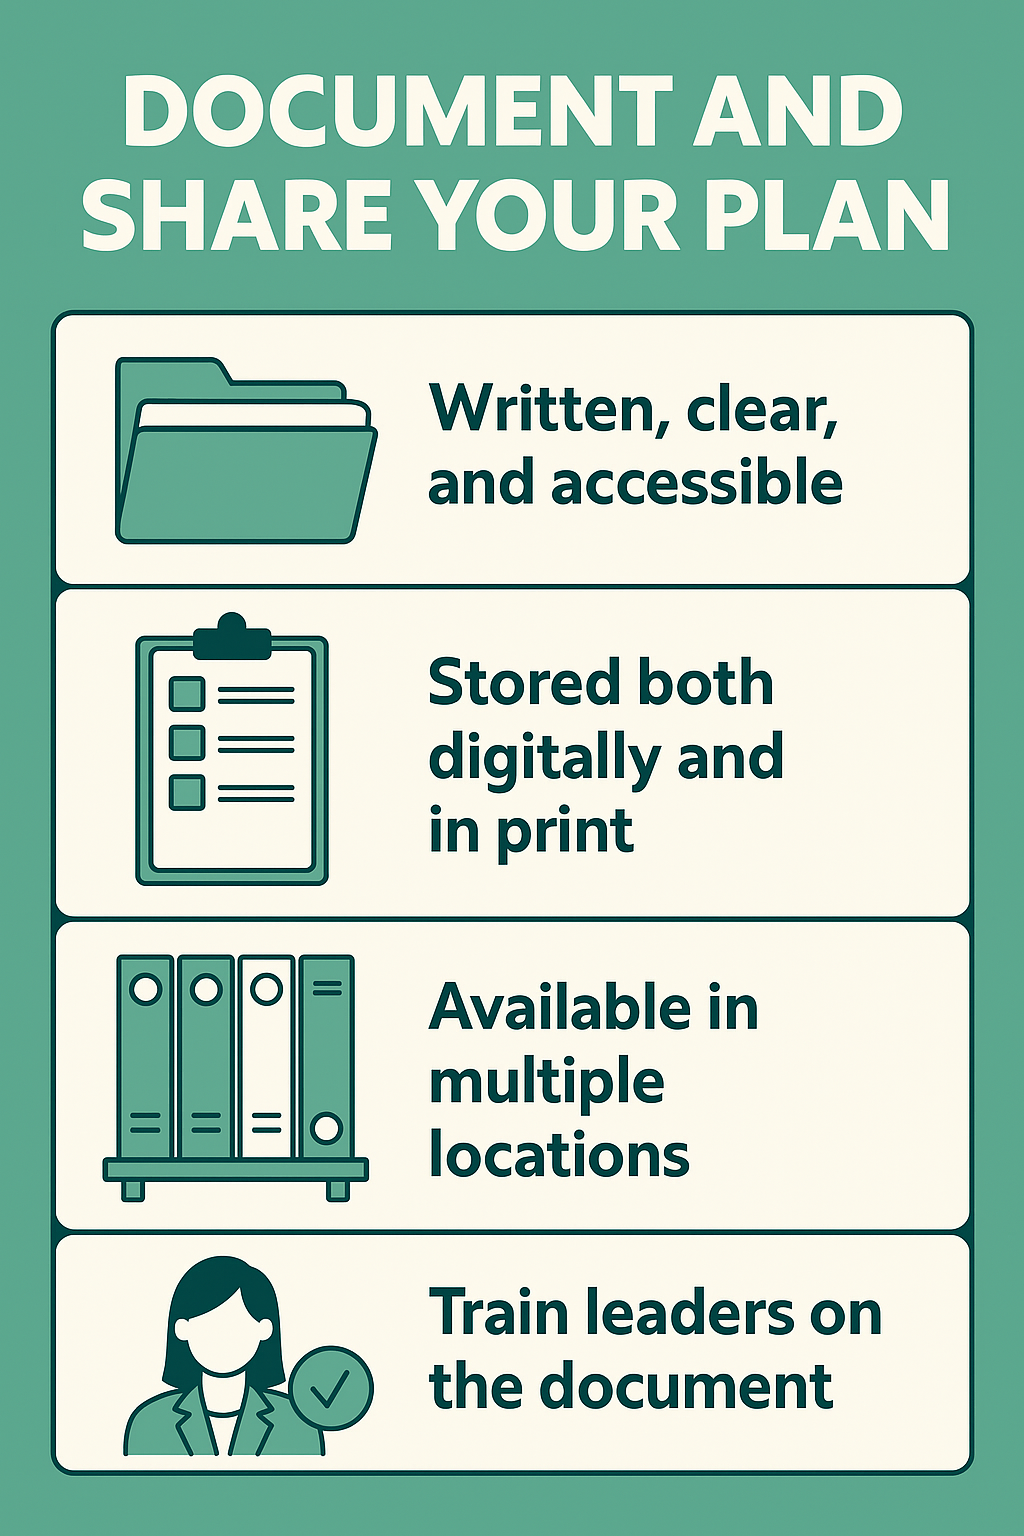
Train leaders on the document and conduct walkthroughs. Make sure third-party contractors are also briefed.
Example Emergency Evacuation Plan Checklist
| Item | Completed (✔) |
|---|---|
| Emergency scenarios identified | ✔ |
| Roles assigned | ✔ |
| Exit maps posted | ✔ |
| Assembly areas chosen | ✔ |
| Communication system tested | ✔ |
| Accessibility addressed | ✔ |
| Staff trained and drilled | ✔ |
| Plan reviewed in last 12 months | ✔ |
Useful Tools and Templates
- Emergency Plan Template – Ready.gov (DoFollow)
- Workplace Emergency Response Planning Guide – CCOHS (DoFollow)
- OHSE.ca – Canadian Safety Resources (DoFollow)
Conclusion
Creating an Emergency Evacuation Plan is not just about ticking a box—it’s about protecting lives. By following these steps, you can develop a clear, effective, and inclusive plan that prepares your workforce for any crisis.
Remember to test your plan, train your team, and treat this as a living document—regularly updated as risks, staff, and operations evolve.
No comments yet