 Skip to content

Office Renovation Hazard Assessment Checklist is the easiest way to protect employees, contractors, visitors, and essential operations when construction happens in a live office environment.
Renovation work creates fast-changing risks—dust, blocked exits, noise, temporary electrical setups, trip hazards, and miscommunication between teams. The goal of this checklist is simple: identify hazards early, control them properly, and keep the office running safely from start to finish.
A strong hazard assessment doesn’t just prevent incidents—it also reduces complaints, prevents schedule delays, and avoids expensive rework. It also helps you prove due diligence when you need to show that safety was planned, monitored, and improved over time.
- Office Renovation Hazard Assessment Checklist: What “Good” Looks Like
- Step 1: Pre-Renovation Planning Checks (Before Day 1)
- Step 2: Site Separation and Access Control
- Step 3: Indoor Air Quality, Dust, and Odour Controls
- Step 4: Noise, Vibration, and Comfort Risks
- Step 5: Slips, Trips, Falls, and Housekeeping
- Step 6: Emergency Exits, Fire Safety, and Life Safety Systems
- Step 7: Electrical Safety and Temporary Setups
- Step 8: Communication, Reporting, and Worker Awareness
- Quick Office Renovation Hazard Assessment Checklist (Field Version)
- Final Step: Re-Occupancy Sign-Off (Before Opening Any Renovated Area)
Office Renovation Hazard Assessment Checklist: What “Good” Looks Like
Before you start checking boxes, it helps to know what a solid renovation safety setup includes. In an occupied office, you’re managing two environments at once: an active workplace and an active construction zone.
That means controls must protect people who aren’t trained construction workers, and hazards must be managed even when staff are distracted or rushing between meetings.

A practical hazard assessment should cover indoor air quality, access control, emergency routes, housekeeping, noise, electrical safety, and day-to-day communication.
Indoor air quality is a key concern because contaminants like dust and fumes can cause discomfort and health symptoms if not controlled properly.
Step 1: Pre-Renovation Planning Checks (Before Day 1)
This step prevents 80% of renovation safety issues. A quick kickoff meeting with facilities, contractors, building management, and the workplace safety lead can stop confusion later. Your plan should be clear enough that even a new staff member understands where they can and cannot go.
Use this part of the Office Renovation Hazard Assessment Checklist to confirm:
- Renovation scope, schedule, and phased areas (what’s closed vs open)
- Who is supervising the contractor daily
- After-hours work expectations and morning cleanup requirements
- How complaints, hazards, and incidents will be reported and tracked
If your workplace uses a Joint Health & Safety Committee, involve them early and align with your existing hazard assessment process (you can link to your internal hazard assessment guide for consistency).
Step 2: Site Separation and Access Control
Live office renovations fail when workers or staff “cut through” the wrong area. The solution is controlled access that’s obvious and physical—not just a sign taped to a wall.
Check that barriers are strong, continuous, and placed to prevent accidental entry. Good containment also reduces dust migration, which Health Canada recommends controlling using barriers/containment during dust-producing activities.
Confirm these controls are in place:
- Solid barricades or construction hoarding (not flimsy caution tape)
- Locked doors or badge access where needed
- Clear “Authorized Personnel Only” signage at entry points
- Safe walking routes clearly marked for staff and visitors
- A plan for deliveries, elevator access, and material staging
If you want a short internal reference for staff, link to your contractor safety expectations inside your office communication emails.
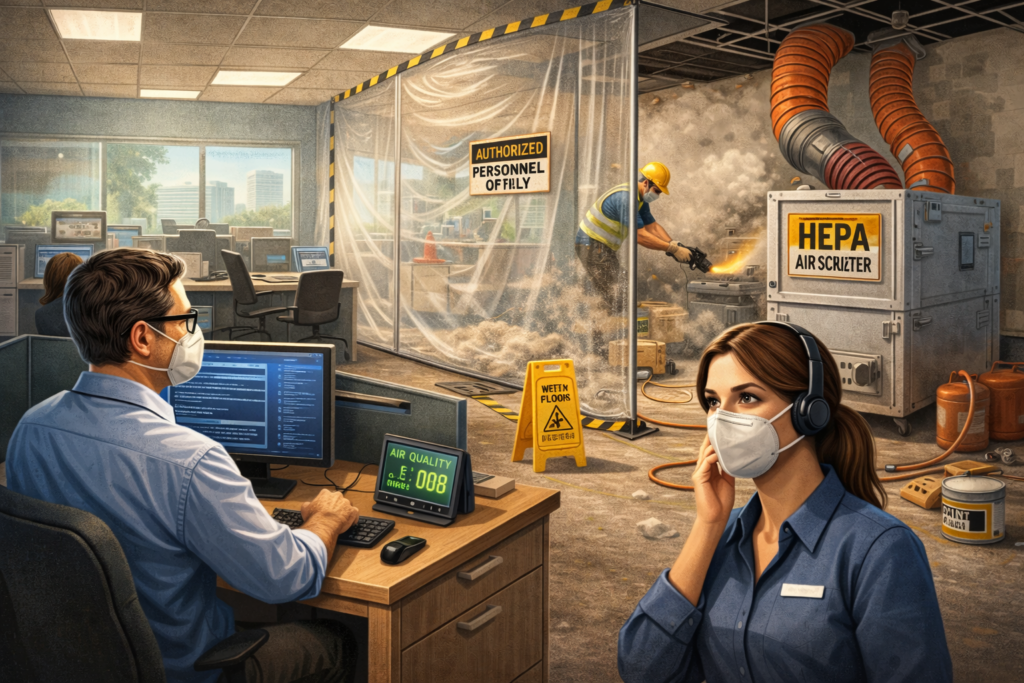
Step 3: Indoor Air Quality, Dust, and Odour Controls
Indoor air quality issues are one of the biggest reasons office renovations trigger complaints and health concerns. Dust can travel through hallways, gaps, and even ventilation pathways if containment isn’t tight. CCOHS highlights that good indoor air quality means keeping contaminants like dust, moulds, and odours at acceptable levels.
Use this part of the Office Renovation Hazard Assessment Checklist:
- Confirm barriers/containment and sealed edges (no visible air gaps)
- Check that return air ducts near the work zone are protected where needed
- Confirm HEPA filtration, negative air machines, or extra ventilation if required
- Ensure cleaning methods avoid dry sweeping (which re-suspends dust)
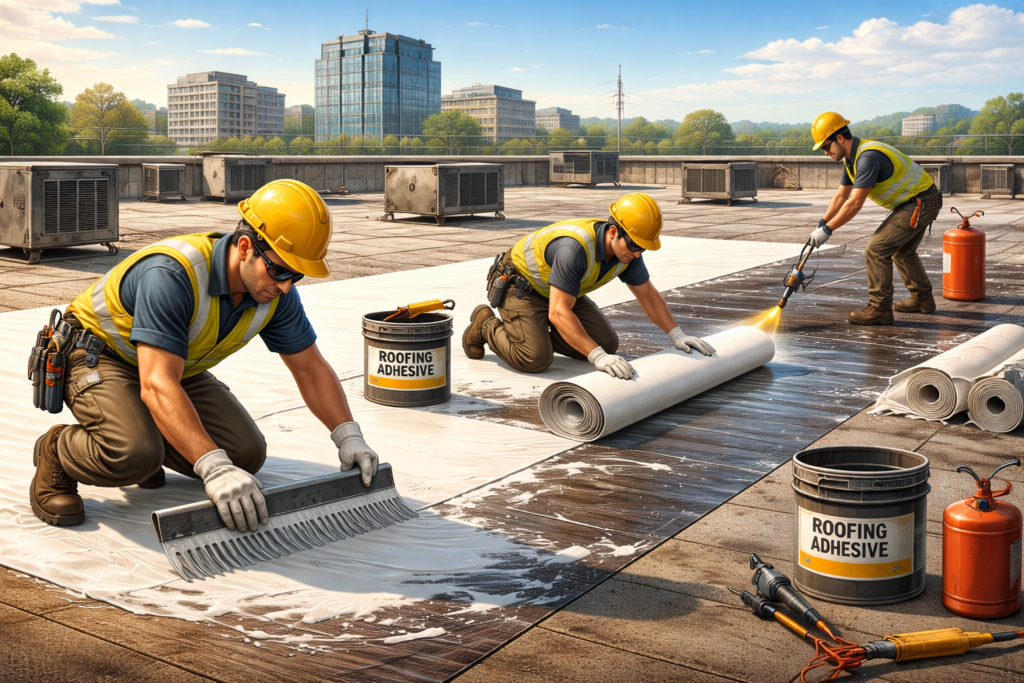
- Confirm safe product selection for paints/adhesives where possible
Renovation odours often come from VOCs. Health Canada notes that exposure to VOCs can cause symptoms like headaches, dizziness, and irritation of eyes/nose/throat. If multiple employees report similar symptoms, treat it as a signal to review ventilation, products, and containment immediately.
For stronger ventilation expectations, reference accepted IAQ benchmarks like ASHRAE Standards 62.1/62.2.
Step 4: Noise, Vibration, and Comfort Risks
Noise in an office renovation isn’t just annoying—it increases fatigue, reduces concentration, and can contribute to errors or near-misses in hallways and shared spaces. The hazard assessment should treat noise as both a health concern and a productivity disruption, especially during calls, patient-facing services, or high-focus work.
Check:
- Noisy work scheduled for low-occupancy hours when possible
- Quiet zones identified (meeting rooms, focus spaces)
- Temporary relocation plan for affected teams
- Vibration impact on monitors, shelves, ceiling tiles, and sensitive equipment
If you regularly publish safety updates, this is a perfect topic for your internal toolbox talk library so staff know what to expect each week.
Step 5: Slips, Trips, Falls, and Housekeeping
Most renovation incidents in offices are simple: someone trips on a curled mat, walks into a slightly raised floor edge, or slips on dust. These incidents often happen outside the construction zone—right where staff assume it’s safe.
Your Office Renovation Hazard Assessment Checklist should include:
- Cable covers for temporary power/data cords
- Non-slip mats with flat edges (no curling corners)
- Adequate lighting in detour hallways and temporary routes
- Daily cleanup schedule with clear accountability
- Waste removal plan (bins, debris control, no hallway storage)
Housekeeping should be enforced like a rule, not a suggestion. “Clean as you go” prevents injuries and keeps emergency routes clear.
Step 6: Emergency Exits, Fire Safety, and Life Safety Systems
During renovations, exits get blocked “for a minute,” fire doors get wedged open, and detour signs get confusing fast. This is where hazard assessments must be strict, because emergency access is non-negotiable.
Check these items daily:
- Exit routes are open and clearly marked
- Fire doors close and latch properly (not propped open)
- Temporary routes are posted where staff can see them
- Fire extinguishers remain accessible
- Alarm devices (pull stations, strobes) aren’t blocked
If hot work or electrical shutdowns are involved, make sure special controls and supervision are in place. Construction hazards can include falls, electrocution, and exposure to dust and struck-by hazards.
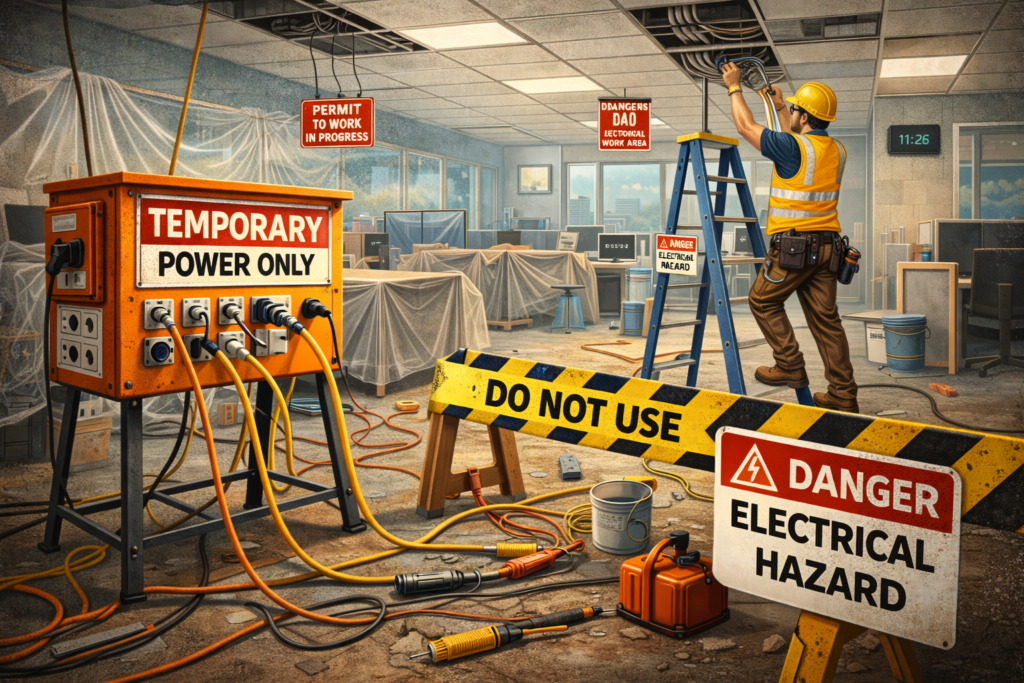
Step 7: Electrical Safety and Temporary Setups
Temporary electrical setups are common during renovations—and they’re risky. Overloaded power bars, extension cords across walkways, and open ceiling access can create shock hazards and trip hazards at the same time.
Inspect for:
- GFCI protection where needed
- Proper cord routing (no pinch points, no across doors)
- No daisy-chained power bars
- Covered panels, protected outlets, and safe shutdown procedures
- Clear signage for “Do Not Use” outlets or areas
In Ontario, construction projects have PPE and safety expectations under regulations like O. Reg. 213/91. Even if your work is “inside an office,” the construction activity still needs proper controls.
Step 8: Communication, Reporting, and Worker Awareness
Even the best controls fail if nobody knows what’s happening. Staff should know which routes changed, where the noise will happen, and how to report issues quickly without feeling like they’re “complaining.”
Build this into your Office Renovation Hazard Assessment Checklist:
- Daily/weekly update email (what changed, what to avoid, where to walk)
- Simple reporting method (QR code form, email alias, helpdesk ticket)
- Signage that matches reality (remove outdated signs immediately)
- “Stop and report” reminders for blocked exits or strong odours
For indoor air problems, a simple symptom-reporting form helps spot patterns early. Guidance and reporting templates are commonly used in IAQ programs.
Quick Office Renovation Hazard Assessment Checklist (Field Version)
Use this quick list for walk-throughs with facilities and contractors:
Containment & Access
- Barriers secure, sealed, and intact
- No unauthorized entry points
- Clear safe routes for employees
Air Quality
- Dust control active, no visible migration
- Ventilation protected, filters/negative air in place
- Odours controlled, complaints tracked
Housekeeping
- Floors clean, debris removed, bins available
- Cords covered and walkways clear
- No materials stored in hallways
Life Safety
- Emergency exits open and marked
- Fire doors working properly
- Alarms/extinguishers accessible
Electrical & Tools
- Safe temporary power setup
- No tripping hazards from cords
- Tools stored safely after hours
If you want stronger technical support for occupied renovations, NIOSH recommends maintaining construction barriers and using ventilation approaches like negative pressure to limit contaminated airflow into occupied areas.
Final Step: Re-Occupancy Sign-Off (Before Opening Any Renovated Area)
Before staff return to a renovated zone, do a final safety review. This prevents the “looks done” trap where hazards remain hidden: loose tiles, unsealed gaps, leftover odours, or incomplete cleanup.
Sign-off should confirm:
- The space is clean and dust-free
- No sharp edges, exposed fasteners, or unstable fixtures
- HVAC is operating normally and vents are unobstructed
- Emergency signage and routes are correct
- The area is ready for normal office occupancy
This final phase makes the Office Renovation Hazard Assessment Checklist complete, and it’s where you capture lessons learned to improve the next phase or next project.
No comments yet