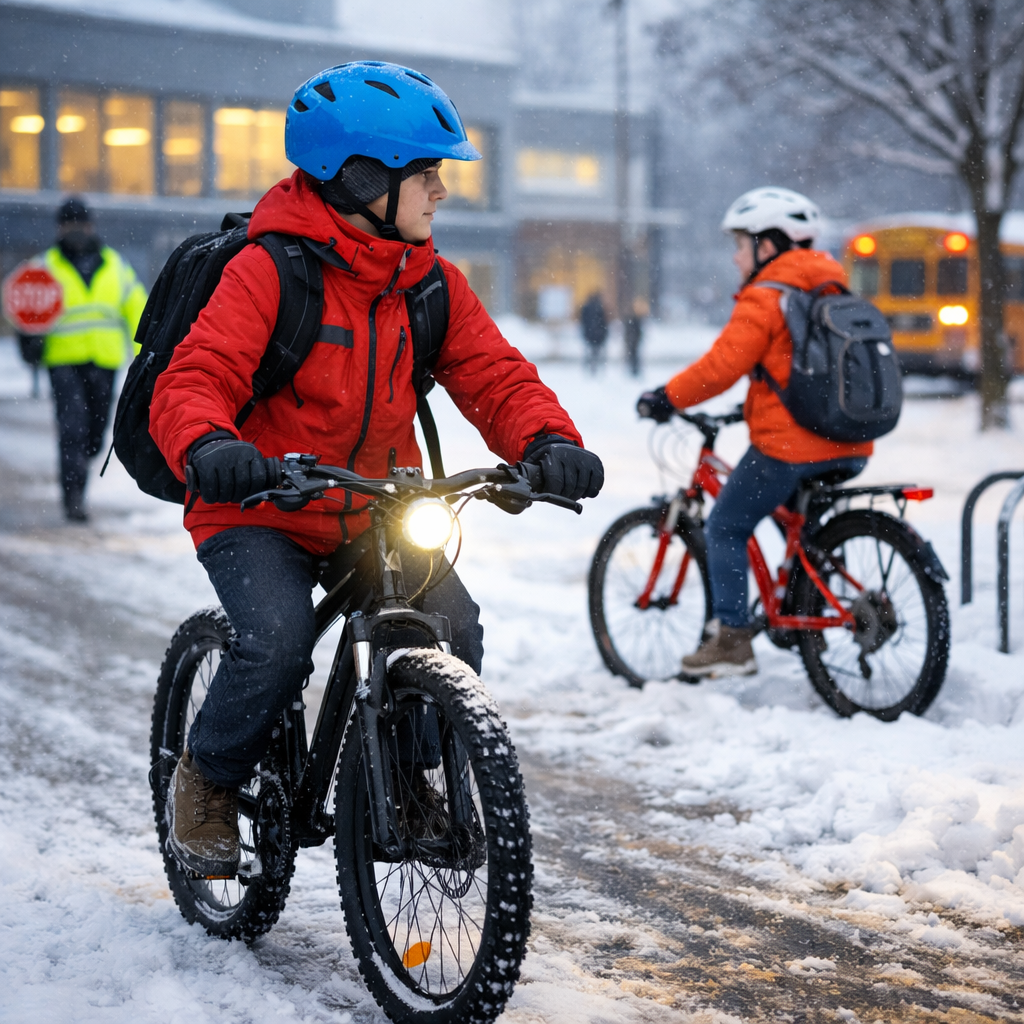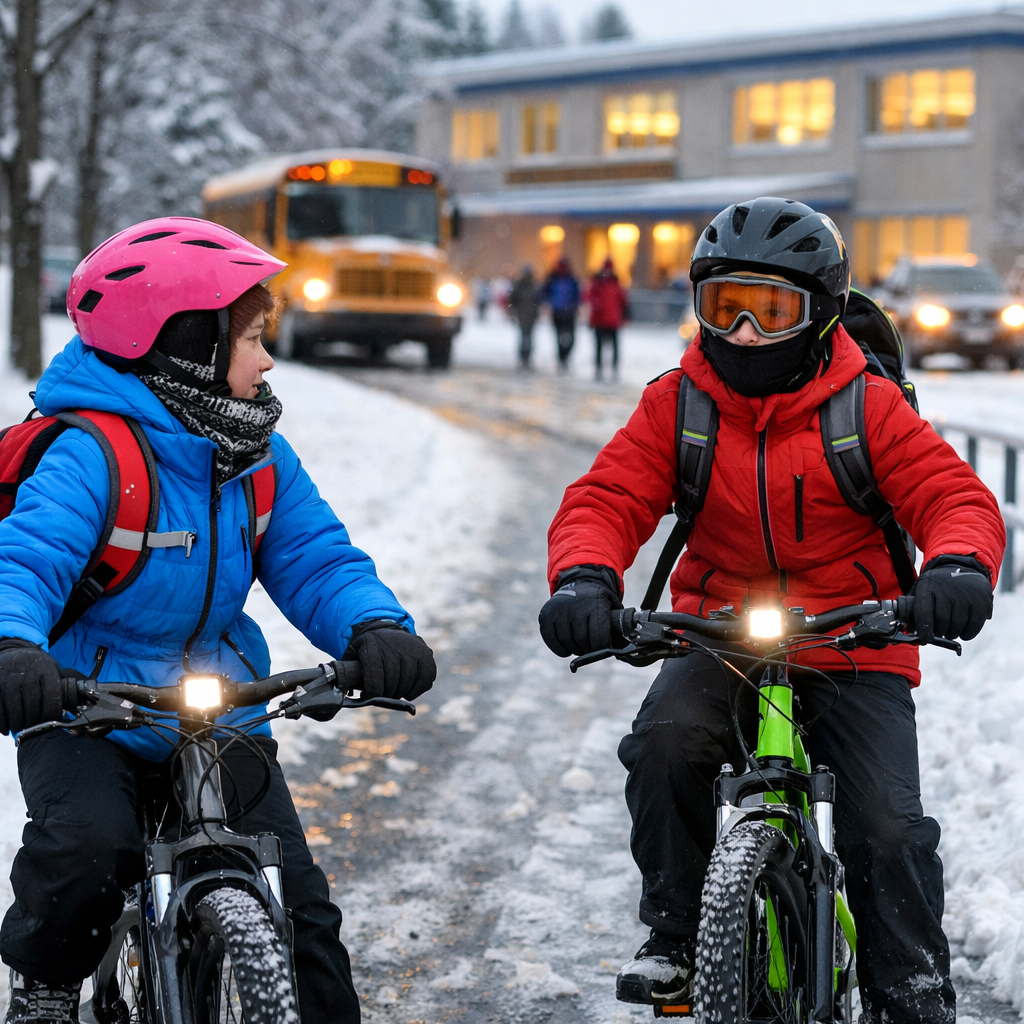

Winter cycling safety for students starts with preparation, not confidence alone. Snow, slush, ice, darkness, and changing road conditions can turn a familiar ride to school, campus, or work placement into a higher-risk trip, especially during Ontario winters when daylight is limited and surfaces change quickly.
For students in elementary school, high school, college, university, or co-op settings, safe winter riding depends on three basics: being seen, staying upright, and choosing a route that matches the conditions. Families, schools, and student workers can all support safer habits by treating winter cycling like any other everyday safety task: identify hazards, reduce exposure, use the right equipment, and follow local guidance. Resources from CCOHS, Ontario, and Parachute can also support broader injury prevention planning.
- Why winter cycling safety for students needs a different approach
- Visibility: the first priority in winter cycling safety for students
- Traction and bike setup for winter cycling safety for students
- Route planning for winter cycling safety for students
- Practical winter cycling safety for students checklist
Why winter cycling safety for students needs a different approach
Winter riding is not just summer cycling with warmer clothes. Students often travel at busy times of day, around school zones, bus stops, driveways, parking lots, and transit connections. In winter, drivers may need more stopping distance, bike lanes may be narrowed by snowbanks, and hidden ice can appear even when the road looks clear.
A practical safety approach is to think in layers. First, remove or avoid the hazard where possible by delaying a trip in severe weather or choosing transit instead. Second, reduce the risk by selecting a plowed route, riding in daylight when possible, and slowing down. Third, rely on equipment such as lights, winter-ready tires, fenders, and reflective clothing. This follows the same prevention mindset used in school and workplace health and safety.
Students who bike to class, a part-time job, or a placement should also follow any school, employer, or site-specific requirements. If the route includes shared pathways, industrial areas, or loading zones, extra caution is important. For broader safety education, families and schools may also find practical resources at OHSE.ca and training support through OHSE training.
Visibility: the first priority in winter cycling safety for students
Be seen in low light, snow, and traffic
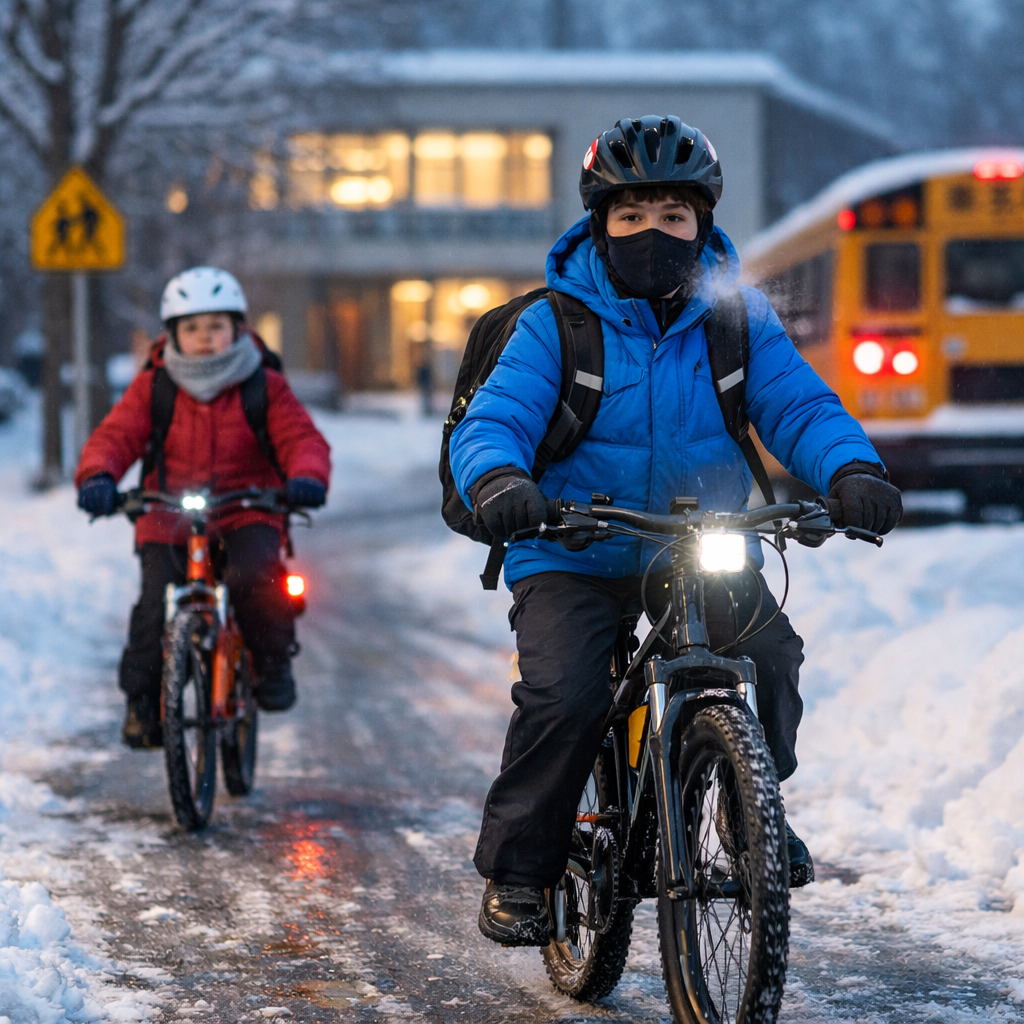
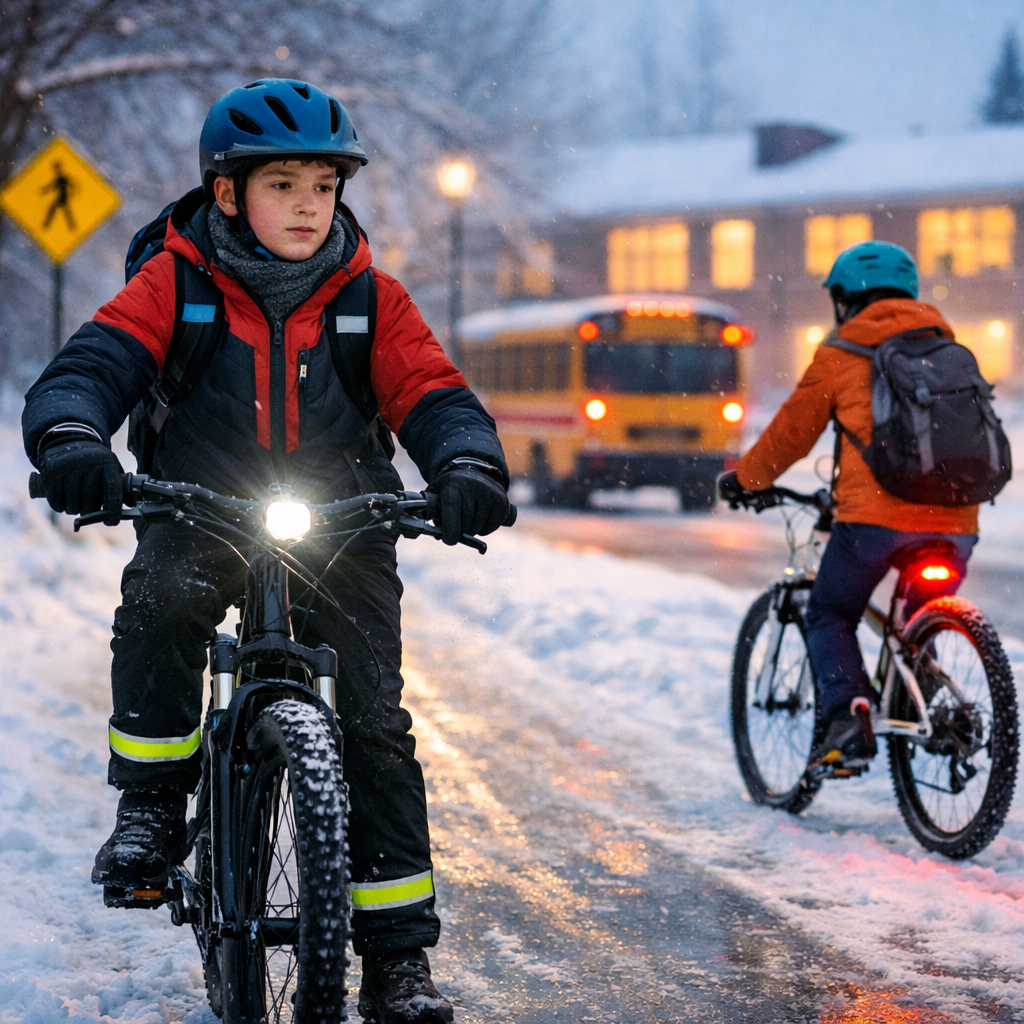
Many student rides happen at dawn, dusk, or after dark. Add snowfall, fogged glasses, road spray, and bulky winter clothing, and visibility becomes one of the biggest concerns. A bike light is not just for seeing the road ahead. It also helps drivers, pedestrians, and other cyclists notice you sooner.
Use a white front light and a red rear light whenever visibility is reduced. Reflectors should be clean and unobstructed. Reflective strips on jackets, backpacks, ankle bands, and panniers help create movement cues that are easier for drivers to recognize. Bright outer layers can also help in daytime snow conditions when the background is grey or white.
Dress for visibility without losing comfort
Students often choose dark winter coats because they are practical and easy to match, but darker clothing can make a rider blend into the surroundings. Try adding visible accessories rather than replacing an entire wardrobe. A reflective vest over a coat, bright gloves, or a reflective backpack cover can make a real difference.
- Check that lights are charged before leaving.
- Keep lights and reflectors free of snow and road grime.
- Use reflective gear on moving parts of the body, especially ankles or legs.
- Avoid hoods or scarves that block side vision or hearing.
- Make sure backpacks do not cover rear lights or reflective panels.
Helmets should fit properly over winter headwear and should not tilt backward because of a thick hat. If a student wears a hood, it should be used only when parked or walking, not while riding if it limits sightlines or awareness.
Traction and bike setup for winter cycling safety for students
Reduce slips by adjusting speed, tires, and braking
Traction changes quickly in winter. Packed snow may be manageable, while black ice, wet metal, painted lines, leaves, or slushy ruts can cause a sudden loss of control. Students should ride more slowly, leave more time, and avoid sharp turns or sudden braking.
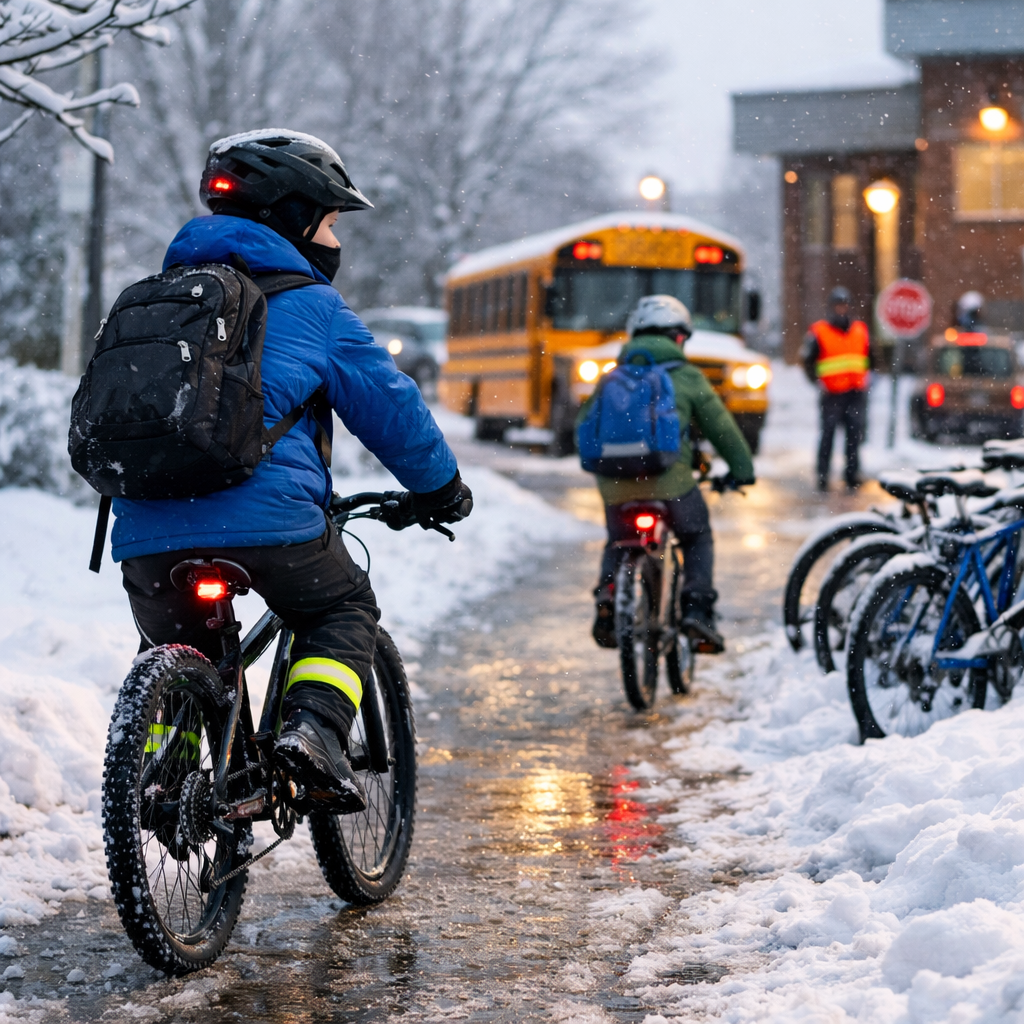
If winter riding is regular, tires with better tread can improve grip, and studded tires may help on icy routes. Tire pressure may also need adjustment within the manufacturer’s guidance. Fenders help reduce spray, which improves comfort and helps keep clothing and lights cleaner.
Smooth inputs matter. Brake earlier, steer gently, and keep more distance from vehicles and other cyclists. Put more weight over the bike and try to stay upright through slippery sections. If a surface looks questionable, it is safer to dismount and walk.
Simple winter bike check
| Check | Why it matters | What students should do |
|---|---|---|
| Tires | Grip drops on snow and ice | Inspect tread, inflate properly, consider winter or studded tires |
| Brakes | Stopping distances increase in winter | Test brakes before every ride and keep rims or rotors clear |
| Lights | Darkness and snow reduce visibility | Charge batteries and confirm front and rear lights work |
| Chain and drivetrain | Salt and moisture increase wear | Clean and lubricate regularly using bike-safe products |
| Bell and controls | Gloves can affect handling | Check that shifting, braking, and signalling feel manageable |
Salt, slush, and temperature swings are hard on bikes. A quick wipe-down after riding and regular maintenance can prevent gradual equipment failure. If the bike is used for commuting to a job or placement, reliable maintenance is especially important because a mechanical problem on the road can create both travel and workplace safety issues.
Route planning for winter cycling safety for students
Choose the safest route, not just the shortest one
Good route planning can lower risk more than riding skill alone. In winter, the best route may be the one that is better plowed, has slower traffic, better lighting, or fewer conflict points. A slightly longer ride on quieter residential streets or maintained multi-use paths may be safer than a faster arterial road with heavy traffic and snowbanks.
Before leaving, check weather, visibility, and recent conditions. Think about where snow tends to build up: bridge decks, shaded corners, intersections, driveways, and campus access roads. If a route includes construction, loading docks, parking lots, or school drop-off areas, be ready for reduced space and unpredictable vehicle movement.
Plan for timing, backup options, and communication
Students should leave early enough to ride slowly and cautiously. Rushing increases poor decisions such as weaving around snowbanks, braking late, or skipping a safer crossing point. It also helps to have a backup plan. If conditions worsen, lock the bike and switch to transit, ask for a ride, or walk the most hazardous section.
- Pick routes with better maintenance and lighting.
- Avoid roads with narrow shoulders hidden by snow.
- Use extra caution at intersections, tracks, and bridge approaches.
- Tell family or roommates your route if weather is poor.
- Carry a charged phone, lock, and basic repair items if appropriate.
For younger students, families should ride the route in advance where possible and identify safer crossing points. Schools can support winter cycling safety for students by providing bike parking in visible areas, sharing seasonal reminders, and coordinating with local safety expectations.
Practical winter cycling safety for students checklist
A short checklist can help students build consistent habits before every ride:
- Weather: Check conditions and decide whether biking is still the safest option.
- Visibility: Turn on front and rear lights; wear reflective or bright outer layers.
- Bike condition: Test brakes, inspect tires, and clear snow from the seat, chain area, and lights.
- Clothing: Dress in layers, protect hands, and avoid anything that blocks vision or hearing.
- Route: Choose the best-maintained streets or paths and allow extra time.
- Riding style: Slow down, leave more space, and avoid sudden moves.
- Backup plan: Be ready to walk, use transit, or delay the trip if conditions deteriorate.
Winter cycling safety for students is most effective when it becomes routine. Visibility, traction, and route planning work together: if one part is weak, the ride becomes less predictable. For Canadian students and families, the safest choice is the one that matches the weather, the rider’s experience, and the actual condition of the route that day. Follow local school, workplace, manufacturer, and emergency guidance where applicable, and remember that turning back or choosing another way to travel is sometimes the smartest winter cycling decision of all.