 Skip to content

Workplace Hazard Assessment is the foundation of occupational health and safety. At the beginning of every successful safety program is a structured approach to identifying potential risks before they cause harm.
- Workplace Hazard Assessment
- Why Workplace Hazard Assessment Matters
- Step 1: Understand the Types of Workplace Hazards
- Step 2: Review Past Incident Reports and Safety Data
- Step 3: Involve Employees in the Process
- Step 4: Conduct a Physical Inspection
- Step 5: Identify and Document All Hazards
- Step 6: Prioritize Hazards Based on Risk
- Step 7: Implement Corrective Actions
- Step 8: Communicate Findings to All Staff
- Step 9: Monitor and Review
- Bonus Tip: Use Digital Tools for Efficiency
- Conclusion
Workplace Hazard Assessment

Whether you’re a safety manager, employer, or employee, knowing how to conduct a workplace hazard assessment step by step is essential for ensuring a safe and compliant work environment.
Why Workplace Hazard Assessment Matters
Hazards can exist in every workplace — from manufacturing floors and construction sites to office environments. A hazard assessment identifies dangers that can cause injury, illness, or property damage. By recognizing and addressing these risks early, you help prevent incidents, reduce liability, and build a culture of safety.
Regulations such as OSHA in the United States and Canada’s OHSA require employers to perform routine hazard assessments. This is not only a compliance requirement but also a critical risk management tool.
Step 1: Understand the Types of Workplace Hazards
Before beginning the assessment, it’s vital to understand the different types of hazards you may encounter:
- Physical Hazards: Slips, trips, falls, noise, radiation, vibration
- Chemical Hazards: Gases, vapors, solvents, or toxic substances
- Biological Hazards: Bacteria, viruses, mold, bodily fluids
- Ergonomic Hazards: Repetitive movements, poor posture, improper workstation setups
- Psychosocial Hazards: Workplace violence, stress, harassment
- Mechanical Hazards: Unguarded machinery, equipment malfunction
- Environmental Hazards: Extreme temperatures, lighting, poor ventilation
Understanding these categories will help you observe more effectively during your assessment.
Step 2: Review Past Incident Reports and Safety Data
Historical safety data provides insights into recurring issues.

Review:
- Near-miss reports
- First aid records
- Injury and illness logs
- Maintenance logs
- Inspection checklists
This data helps identify patterns or trouble areas that may otherwise be overlooked. It’s a crucial part of a proactive hazard assessment strategy.
Step 3: Involve Employees in the Process
Your workers are your frontline observers. Engage them through:
- Safety meetings
- Toolbox talks
- Informal interviews
- Observation feedback forms
Employees can reveal hazards that aren’t visible during a formal inspection, especially those related to work practices, ergonomic strain, or near-misses.
Internal link: Top 10 Daily Habits That Make Workplaces Safer
Step 4: Conduct a Physical Inspection
Physically walk through each area of the workplace. Use a checklist tailored to your industry. Be systematic:
- Divide areas by departments or processes
- Inspect tools, equipment, walkways, storage areas
- Look for signs of wear, blocked exits, exposed wires, etc.
- Observe how tasks are performed (job safety analysis)
Use tools like:
- Digital inspection apps
- Cameras to document hazards
- Sound meters, gas detectors, or temperature guns when necessary
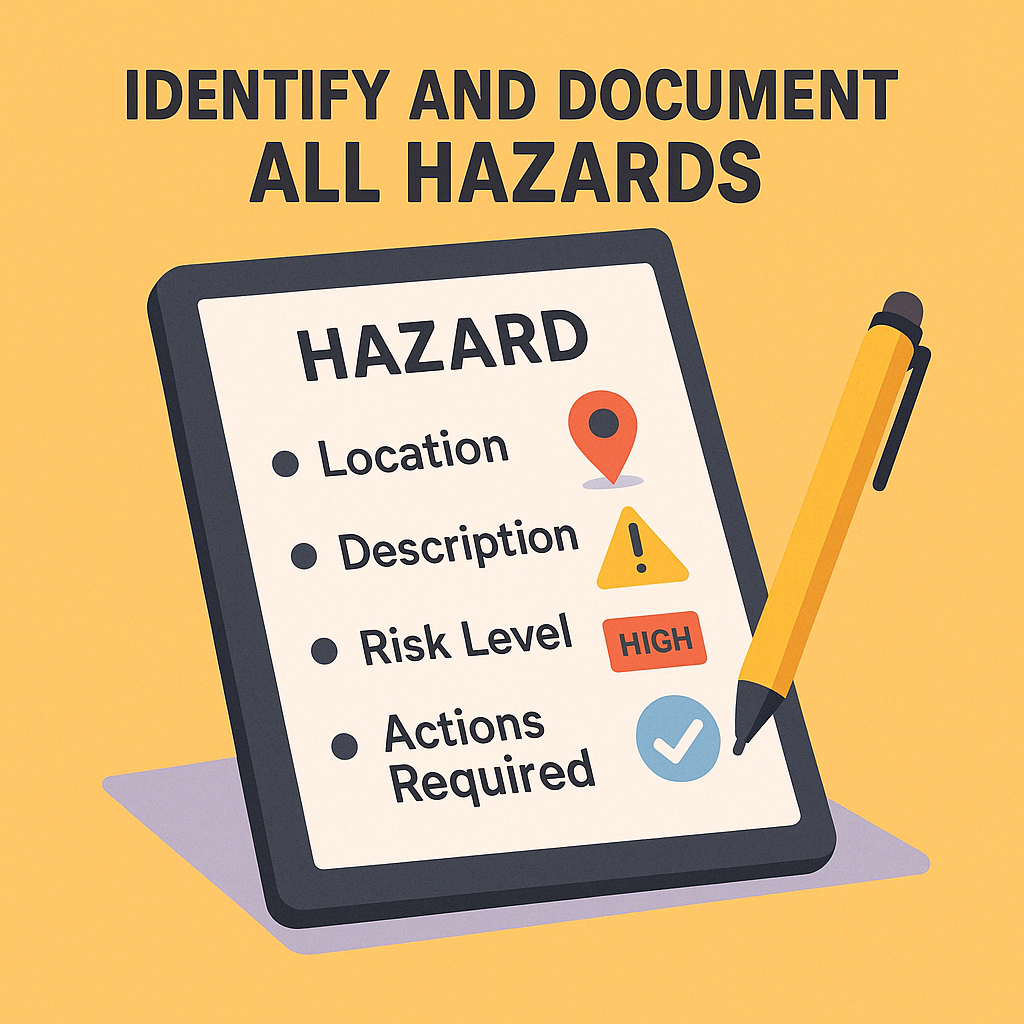
Step 5: Identify and Document All Hazards
Every hazard observed should be clearly documented.
Include:
- Location
- Description of hazard
- Risk level (Low, Medium, High)
- Immediate actions required
- Person responsible for control measures
- Date for follow-up
Use a hazard matrix or risk assessment form for more detailed evaluations. You can link this process with your internal safety management software.
Step 6: Prioritize Hazards Based on Risk
Not all hazards are equal. Use a risk matrix to score hazards based on:
- Likelihood (How likely is an incident?)
- Severity (What is the potential impact?)
| Hazard | Likelihood | Severity | Risk Level |
|---|---|---|---|
| Blocked emergency exit | Likely | Major | High |
| Loose floor mat | Possible | Minor | Medium |
| Improper monitor height | Likely | Minor | Low |
Step 7: Implement Corrective Actions
Once identified, act on the hazards using the hierarchy of controls:
- Elimination – Remove the hazard entirely
- Substitution – Replace it with something safer
- Engineering Controls – Isolate people from the hazard
- Administrative Controls – Change procedures or training
- Personal Protective Equipment (PPE) – As a last line of defense
Document what was done, when, and by whom. Ensure responsibilities are assigned clearly.
Step 8: Communicate Findings to All Staff
Share the results and action plans with all employees:
- Email bulletins
- Safety boards
- Team huddles
- Company intranet
Transparency reinforces trust and shows that employee input and safety are taken seriously.
Step 9: Monitor and Review
A hazard assessment is not a one-time event. It must be reviewed:
- After an incident or near miss
- When new equipment or processes are introduced
- At regular intervals (quarterly, annually)
Schedule follow-ups and re-assessments. Use a checklist like the one offered by OHSE.ca to track and monitor improvements.
Bonus Tip: Use Digital Tools for Efficiency
There are numerous platforms like iAuditor by SafetyCulture or EcoOnline that help digitize and streamline hazard assessments, inspections, and reporting. These tools improve visibility and ensure nothing slips through the cracks.
Conclusion
Workplace Hazard Assessment is a foundational tool for proactive risk management and safety planning. By following these step-by-step instructions—from understanding hazard types to implementing controls—you can build a safer, more compliant workplace.
Make hazard assessments part of your company’s daily safety culture and review them regularly to keep ahead of potential risks.
For more occupational safety tips, check out our guide on Top Infection Control Protocols Every Healthcare Worker Must Follow.
No comments yet