
Practical Sharps Safety Tips for Preventing Needlestick Injuries

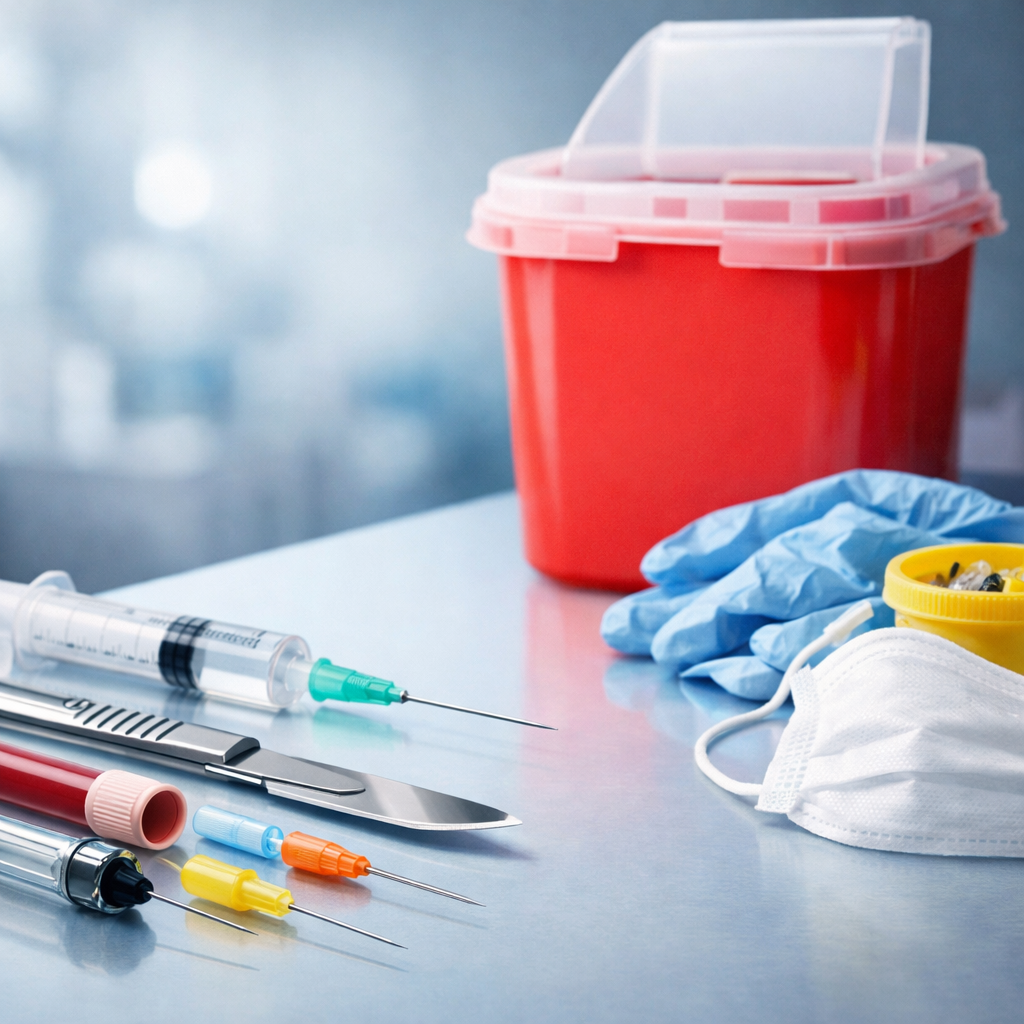
Sharps safety tips are essential in every clinical setting because needlestick injuries can happen in seconds and have serious consequences for workers, patients, and employers.
From bloodborne pathogen exposure to reporting delays and lost work time, a single lapse in handling or disposal can create lasting risk. In hospitals, clinics, dental practices, laboratories, vaccination sites, and long-term care facilities, practical prevention measures make a measurable difference.
This article outlines clear, training-friendly guidance that teams can apply during routine care, specimen handling, injections, cleanup, and waste disposal. It also aligns with real workplace expectations and the prevention principles promoted by organizations such as OSHA and CCOHS.
Sharps safety tips start with understanding where injuries happen
Many needlestick injuries do not occur during the actual procedure. They happen immediately after use, during passing between workers, while disassembling equipment, or when someone reaches into an overfilled sharps container.
That is why effective sharps safety tips focus on the full task, not just the moment a needle touches a patient. A safer process includes preparation, point-of-use handling, disposal, cleanup, and incident response.
Common high-risk situations in clinical environments
- Recapping used needles by hand
- Leaving sharps on trays, beds, trolleys, or countertops
- Carrying uncapped sharps between rooms
- Using overfilled or poorly located sharps containers
- Unexpected patient movement during injections or blood draws
- Rushing during busy shifts, emergency care, or mobile clinics
- Improper segregation of clinical waste and sharps waste
During training, it helps to walk staff through these common moments rather than discussing sharps hazards only in general terms. A worker is more likely to remember a rule when it is tied to a real task, such as giving insulin, drawing blood, suturing, or cleaning an exam room after a procedure.
Clinical supervisors should also review trends in incident reports. If injuries are happening during disposal rather than use, the problem may be container placement, workflow, or staffing rather than individual technique alone.
Use the hierarchy of controls to apply sharps safety tips effectively
One of the most practical sharps safety tips for employers is to avoid relying only on reminders like “be careful.” In occupational health and safety, stronger controls are generally more reliable than behavior alone.
The hierarchy of controls is a useful framework for preventing needlestick injuries in real workplaces.
| Control level | How it applies to sharps safety | Clinical example |
|---|---|---|
| Elimination | Remove unnecessary sharps from the task | Use needle-free IV systems where appropriate |
| Substitution | Replace standard devices with safer alternatives | Use safety-engineered needles with shielding features |
| Engineering controls | Isolate the hazard through design | Install puncture-resistant sharps containers at point of use |
| Administrative controls | Change procedures, training, and supervision | Standardize no-recapping rules and reporting protocols |
| PPE | Provide a final layer of protection | Wear gloves and task-appropriate protective clothing |
In practice, the strongest prevention programs combine several controls at once. For example, a vaccination clinic may use safety syringes, place sharps containers within arm’s reach, train staff not to recap, and rehearse what to do if a patient suddenly pulls away.
If your facility is updating procedures, this is also a good time to review related resources such as your workplace incident reporting procedures and clinical waste segregation guidelines. Sharps safety works best when it is built into the broader safety system.
Point-of-use sharps safety tips for everyday clinical tasks
The most useful sharps safety tips are the ones staff can apply immediately at the bedside, in the treatment room, or in the lab. Small habits at the point of use often prevent the majority of routine injuries.
Before the procedure
Prepare the workspace so disposal is easy and immediate. Make sure the sharps container is upright, visible, close enough to use without walking away, and not already near the fill line.
Gather supplies in advance to reduce rushing and unnecessary handling. If the patient may move suddenly, position yourself and the equipment to keep the sharp under control throughout the task.
During the procedure
Keep attention on the sharp at all times. Avoid hand-to-hand passing when possible, and use a neutral zone for instruments during procedures involving more than one worker.
Use safety-engineered devices exactly as trained. A safety feature only helps if it is activated correctly and at the right time.
Immediately after use
Dispose of the sharp at the point of use without delay. Do not place it on a bed, trolley, tray, or bench “for a moment.”
Do not recap used needles unless no safer alternative exists and the procedure specifically requires it. If recapping is unavoidable, use an approved one-handed technique and follow site policy.
- Place sharps containers as close as possible to where sharps are used
- Replace containers before they become overfilled
- Never reach by hand into a sharps container
- Never bend, break, or remove needles by hand unless a safe device is designed for that purpose
- Keep disposal routes clear in busy rooms and treatment areas
- Speak up immediately if a container is missing, blocked, or mounted in the wrong location
These practical steps are especially important in high-turnover settings such as emergency departments, outpatient clinics, operating rooms, and mobile care units. In these environments, a predictable disposal setup is one of the simplest and most effective controls.
Training, reporting, and culture reinforce sharps safety tips
Even the best equipment will not prevent every injury if workers are unsure how to use it, feel rushed, or hesitate to report hazards. Strong sharps safety tips should therefore be reinforced through orientation, refresher training, supervision, and a reporting culture that focuses on learning.
Training should cover more than device operation. It should also explain exposure risks, safe work procedures, container placement, housekeeping responsibilities, and what to do after an incident. Scenario-based learning is especially effective because it reflects real clinical pressures.
What to do after a needlestick or sharps exposure
If an injury occurs, workers should follow site procedures immediately. In general, this means stopping the task safely, washing the affected area as directed by workplace protocol, notifying a supervisor, seeking urgent medical evaluation, and documenting the incident without delay.
Prompt reporting matters because post-exposure assessment and follow-up may be time-sensitive. Employers should ensure staff know exactly who to contact on day shift, night shift, weekends, and in off-site clinics. Guidance from agencies such as the CDC/NIOSH can support policy development alongside local legal and public health requirements.
Managers should also investigate the root cause, not just the outcome. Was the device appropriate for the task? Was the sharps container too far away? Was the worker covering two rooms at once? Was patient behavior a factor? These questions help prevent repeat incidents.
In the end, sharps safety tips are most effective when they are practical, visible, and consistently reinforced in the flow of work. Clinical teams reduce needlestick injuries by combining safer devices, good room setup, proper disposal, clear reporting, and regular training. When staff know the risks, control measures, and exact steps expected of them, sharps handling becomes safer for everyone. For any facility building or refreshing a prevention program, these sharps safety tips provide a strong foundation for everyday clinical safety.
No comments yet