
lab spill kit usage training: A Practical Guide to Safer Spill Response in Laboratories

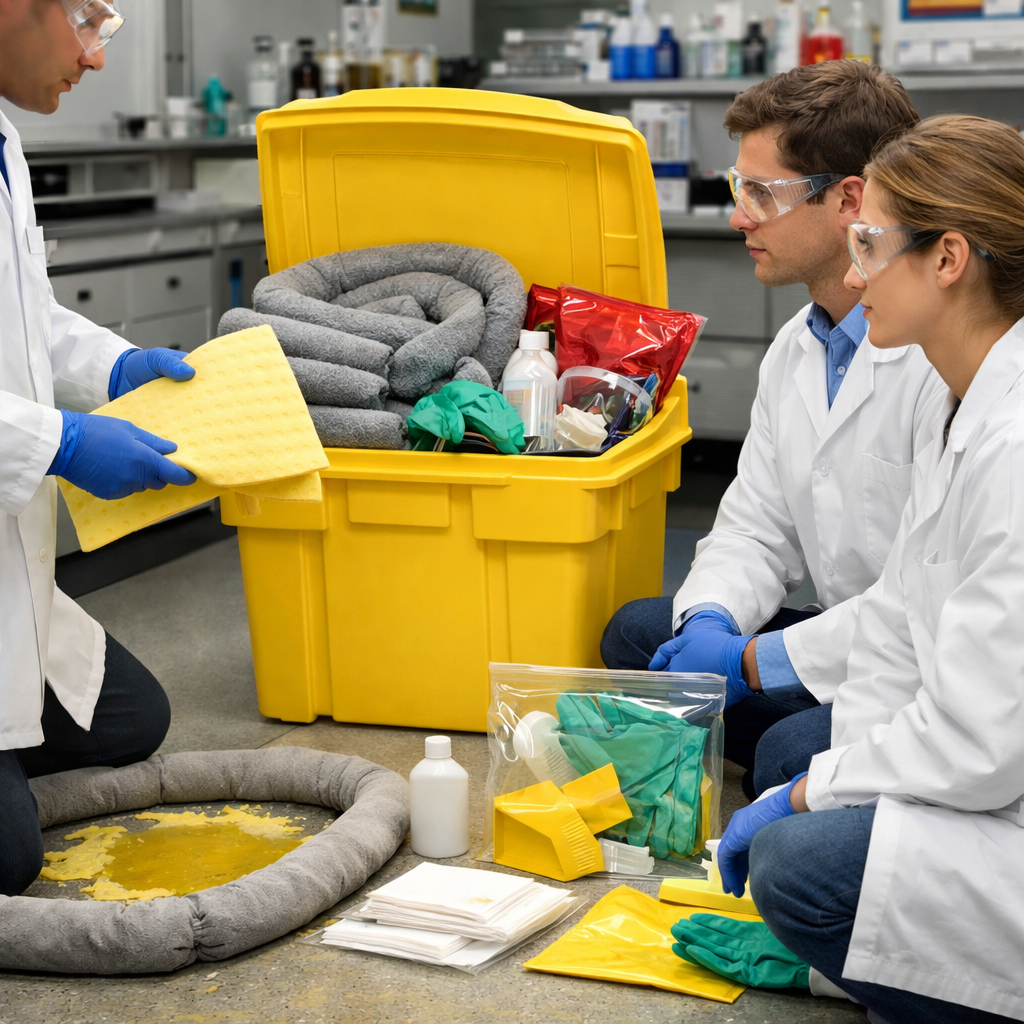
lab spill kit usage training is a critical part of laboratory safety because spills can happen in research labs, school labs, medical facilities, and industrial testing environments at any time.
When workers know how to identify hazards, use the right absorbents, wear suitable PPE, and follow reporting procedures, they can reduce injuries, contamination, downtime, and regulatory risk.
A spill kit is only effective when people understand what is inside it, where it is stored, and how to use it under pressure.
That is why structured training should cover chemical risks, biological hazards, incompatible substances, emergency communication, waste disposal, and post-incident review.
In OHSE terms, spill response is not just about cleaning up a mess.
It is about preventing exposure, controlling the release, protecting the environment, and meeting employer duties under workplace health and safety laws.
Guidance from organizations such as OSHA and the CCOHS supports training, hazard communication, and emergency preparedness as core safety expectations.
Why lab spill kit usage training matters in everyday laboratory work
Many laboratory incidents begin with routine tasks such as decanting solvents, transporting sample containers, changing reagent bottles, or handling waste.
A small splash of acid, a dropped container of formalin, or a leaking solvent bottle can quickly become a serious exposure event if staff are unsure how to respond.
Effective lab spill kit usage training helps workers make fast decisions.
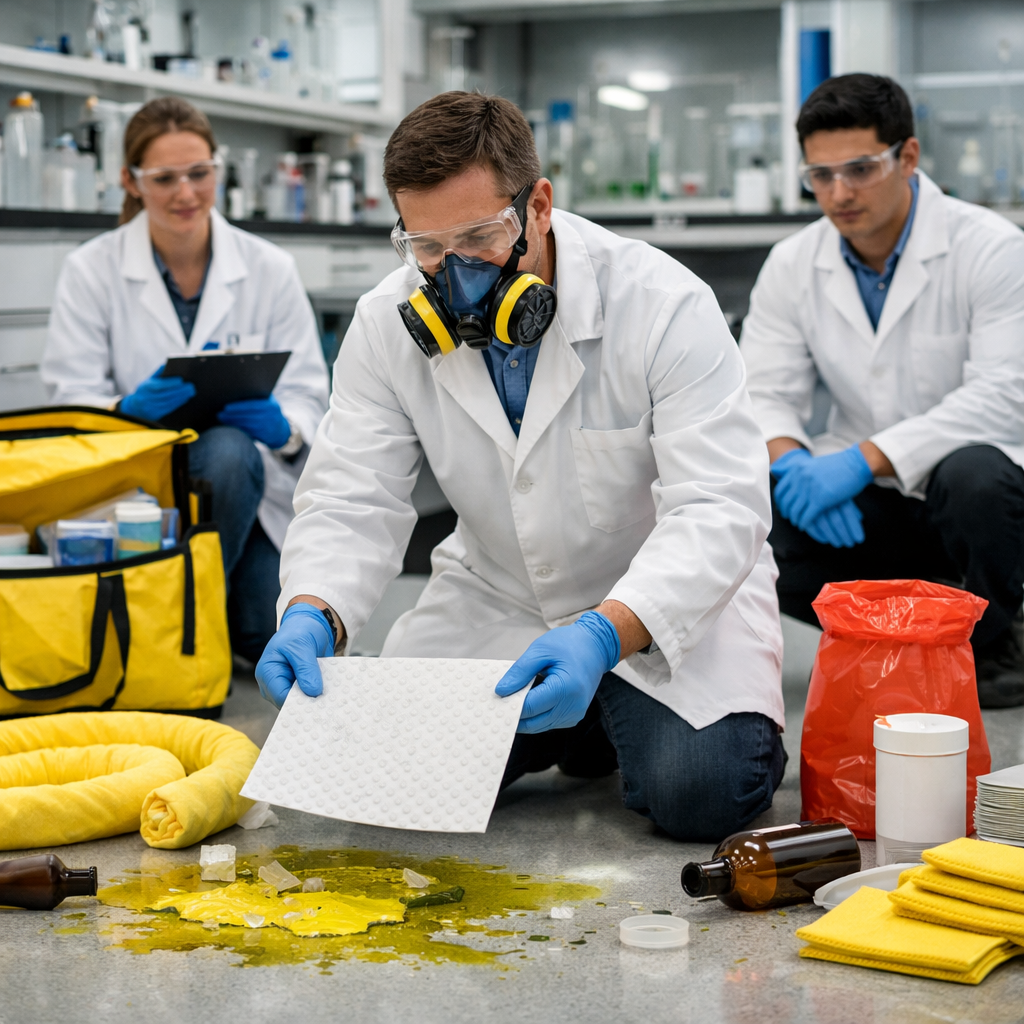
They learn when a spill is minor and manageable, when evacuation is necessary, and when emergency responders must be called.
This distinction matters because an incorrect response can spread contamination, create vapor hazards, or place untrained personnel in danger.
Training also improves housekeeping and prevention.
Workers who understand spill pathways are more likely to store chemicals correctly, label containers clearly, separate incompatibles, inspect lids and trays, and keep benches uncluttered.
These simple controls reduce the chance of incidents before a spill kit is ever needed.
Common risks linked to laboratory spills
- Chemical exposure: burns, inhalation of vapors, skin absorption, and eye injuries
- Biological exposure: contamination from blood, cultures, or infectious material
- Fire and explosion: flammable liquids contacting ignition sources
- Slip hazards: liquids spreading across smooth laboratory flooring
- Environmental harm: uncontrolled release into drains or waste streams
- Cross-contamination: compromised samples, equipment, or clean areas
In practical terms, consider a technician who knocks over a one-liter bottle of xylene near an extraction area.
If they have completed lab spill kit usage training, they are more likely to isolate the area, remove ignition sources if safe to do so, use the correct absorbent, wear chemical-resistant gloves, and dispose of waste in line with the safety data sheet.
Without training, they may reach for paper towels, spread the solvent further, and increase vapor exposure.
What a lab spill kit should contain and how training should cover its use
Spill kits vary depending on the laboratory’s hazard profile.
A general-purpose kit may suit non-aggressive liquids, while separate kits may be needed for acids, alkalis, solvents, mercury, cytotoxic agents, or biohazardous material.
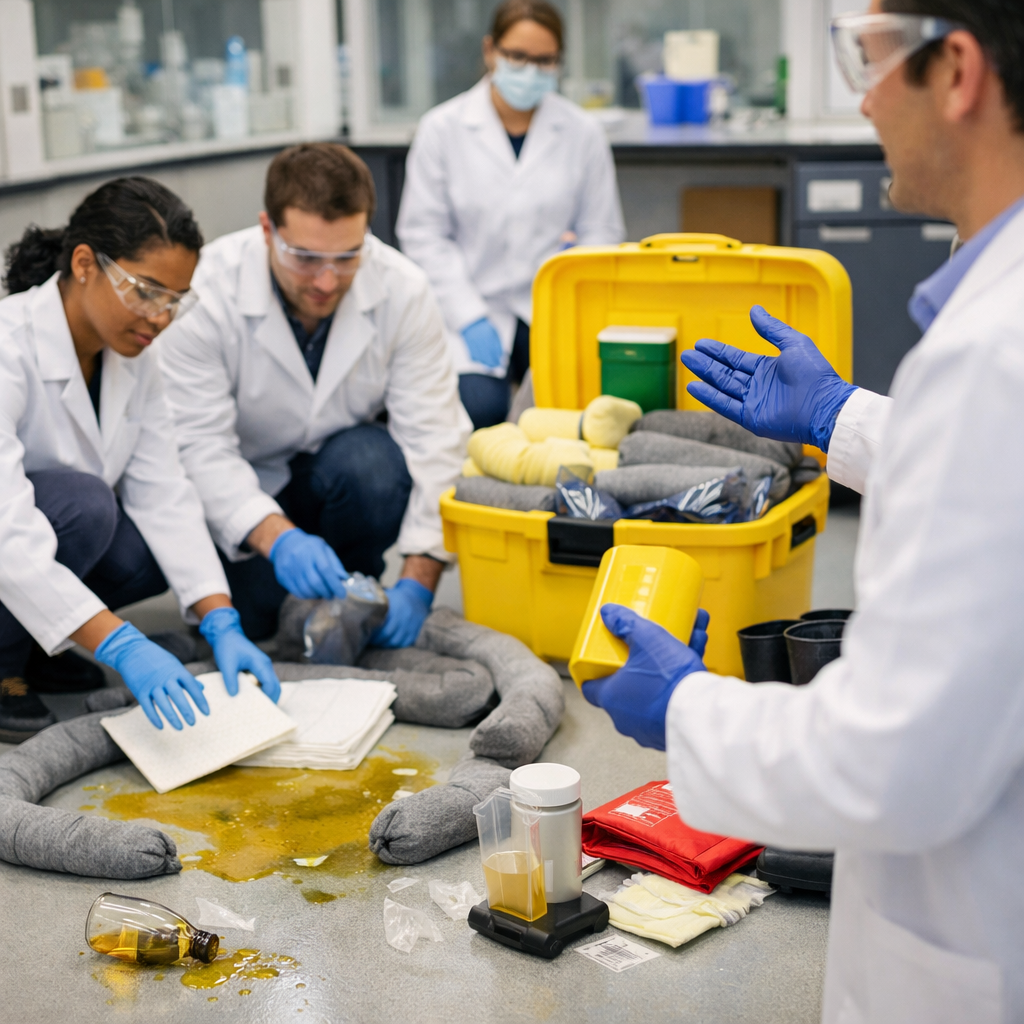
Training should explain these differences clearly so staff do not use the wrong materials during an emergency.
Core items commonly found in a lab spill kit
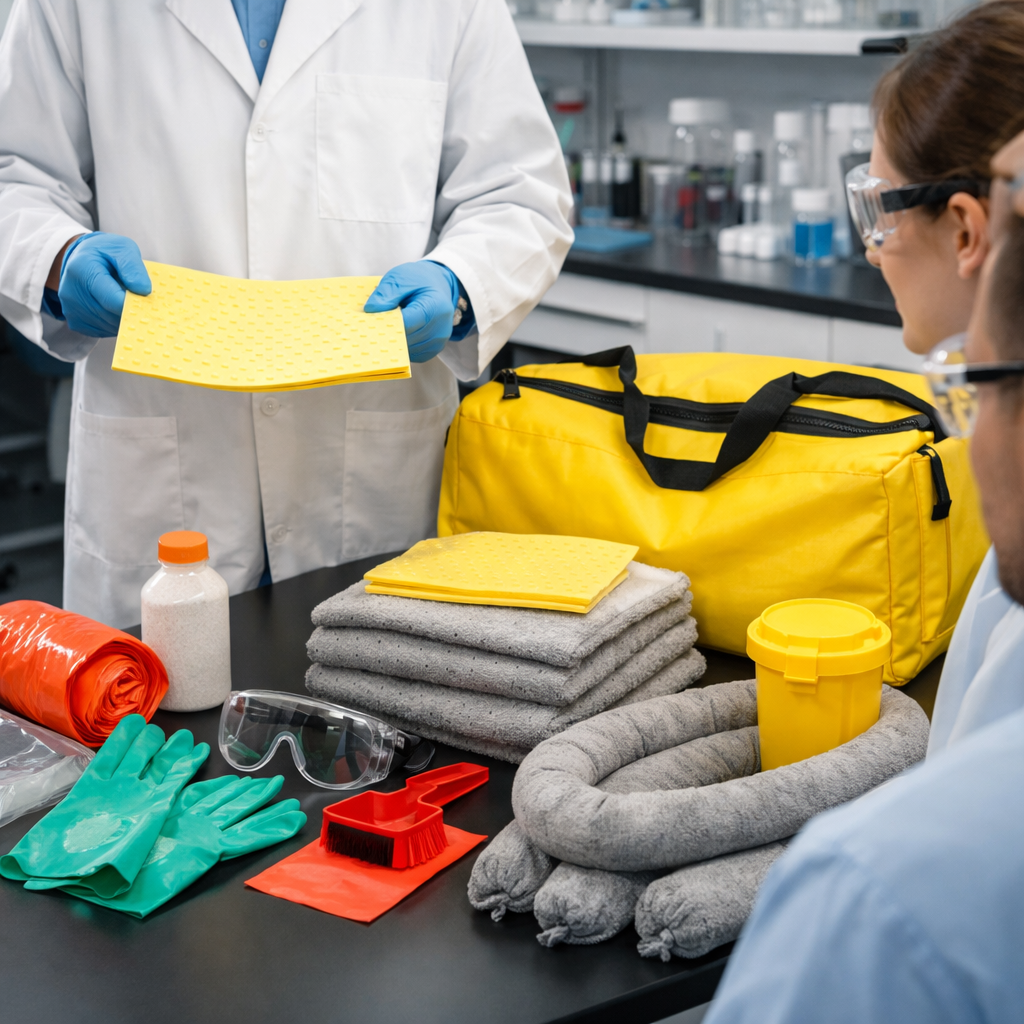
- Absorbent pads, socks, or pillows
- Neutralizing agents for acids or alkalis where applicable
- Chemical-resistant gloves
- Safety goggles or face shield
- Protective gown, apron, or coveralls
- Waste bags and ties
- Scoop, scraper, or tongs for contaminated solids or broken glass
- Hazard labels and incident report instructions
- Respiratory protection where risk assessment requires it
During lab spill kit usage training, staff should physically handle the contents of the kit.
They should know how to deploy absorbent socks around the perimeter, how to apply neutralizer without splashing, and how to package waste safely after cleanup.
Hands-on drills are far more effective than simply asking workers to read a procedure.
| Spill Type | Main Risk | Typical Spill Kit Response |
|---|---|---|
| Acid spill | Chemical burns and corrosive damage | Use acid-compatible absorbent or neutralizer, wear splash PPE |
| Solvent spill | Vapor inhalation and fire risk | Eliminate ignition sources, ventilate if safe, use solvent absorbent |
| Biological spill | Infection and contamination | Restrict access, disinfect correctly, use biohazard waste disposal |
| Broken mercury device | Toxic exposure from mercury vapor | Use specialized mercury kit, never use a standard vacuum |
Laboratories should also maintain clear signage and easy access.
A well-stocked kit hidden in a locked cabinet is not much use during a live spill.
Many facilities improve readiness by placing kits near high-risk work zones and linking local procedures on their laboratory emergency procedures page or in departmental safety manuals.
PPE, prevention, and the Hierarchy of Controls in lab spill kit usage training
PPE is essential, but it should not be the first or only control measure discussed.
Good OHSE training places spill response within the Hierarchy of Controls, which helps laboratories reduce risk more effectively.
Applying the Hierarchy of Controls to spill prevention
- Elimination: remove unnecessary hazardous substances from the process
- Substitution: replace highly hazardous chemicals with safer alternatives where possible
- Engineering controls: use secondary containment, ventilated cabinets, and spill trays
- Administrative controls: SOPs, labeling, inspections, and lab spill kit usage training
- PPE: gloves, goggles, lab coats, aprons, and respiratory protection as required
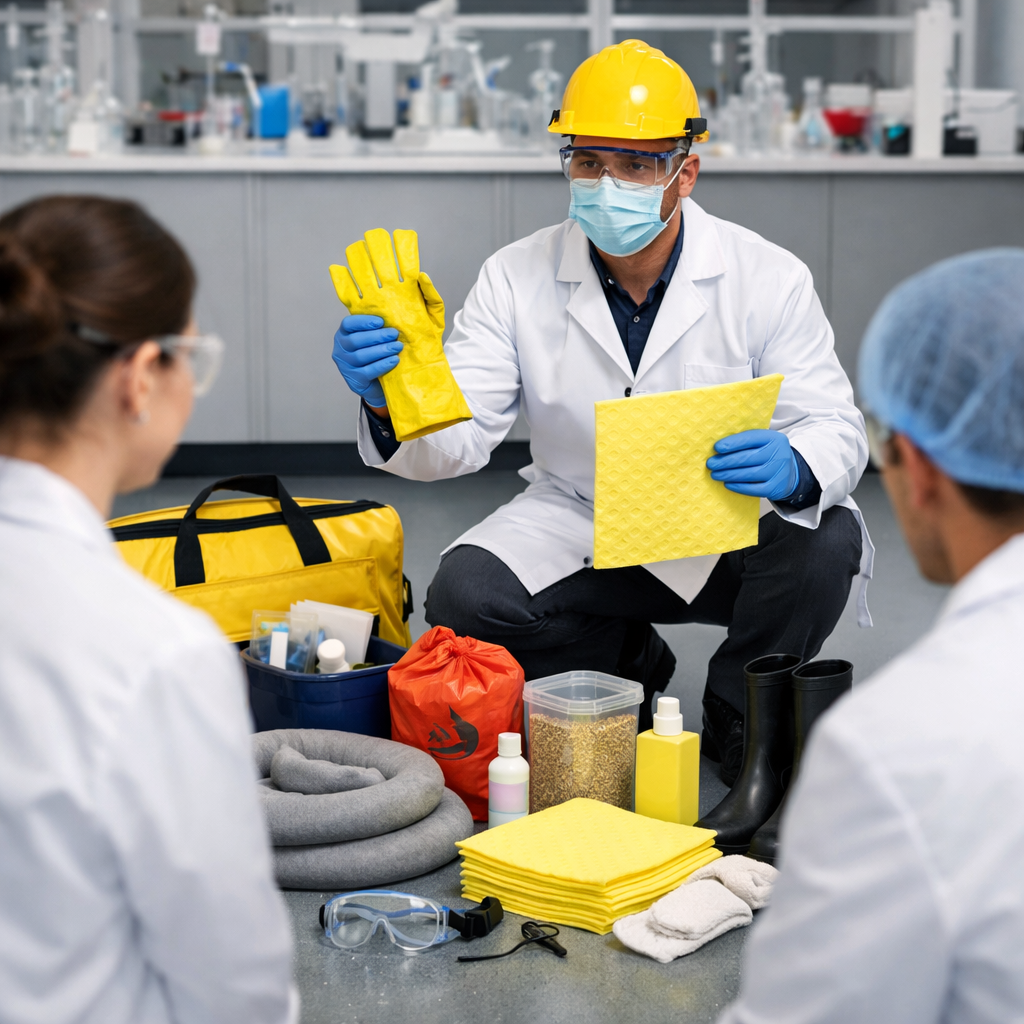
Training should make it clear that PPE selection depends on the substance involved.
Standard nitrile gloves may be suitable for some chemicals, but not for all solvents or corrosives.
Face shields may be needed for splash hazards, and disposable gowns may be necessary for biological incidents.
Workers should always check the safety data sheet and site procedures before selecting controls.
Practical examples help reinforce this message.
For instance, a pathology lab handling formaldehyde should combine sealed containers, local exhaust ventilation, transport trays, staff training, and appropriate gloves rather than relying on a spill kit alone.
Similarly, a school science lab can prevent many minor incidents by limiting container sizes and requiring students to work under direct supervision.
Routine inspections are another important prevention tool.
Spill kits should be checked for expiry, missing contents, damaged packaging, and suitability for current laboratory hazards.
A kit stocked years ago may not match today’s chemical inventory.
Many employers support this process with regular audits and links to internal chemical safety training resources.
Compliance, drills, and practical examples of effective spill response
Compliance is a major reason to formalize lab spill kit usage training, but it should never be treated as a box-ticking exercise.
Training records, refresher sessions, incident investigations, and documented procedures all help demonstrate due diligence while improving real-world safety outcomes.
Depending on the workplace, legal and best-practice expectations may include hazard assessments, WHMIS or HazCom communication, emergency planning, first aid readiness, and waste management controls.
Employers should align their programs with local regulations and consult trusted references such as OSHA laboratory safety guidance.
What effective training sessions should include
- Recognition of spill size and severity
- Immediate actions, including isolation and notification
- PPE selection and limitations
- Safe use of kit contents for different hazards
- Decontamination and waste disposal steps
- Incident reporting and post-event review
- Scenario-based drills with realistic laboratory examples
A useful drill might involve a minor hydrochloric acid spill on a bench and floor area.
Participants should identify the hazard, stop nearby work, put on splash goggles and gloves, contain the spill, apply the correct neutralizer, verify cleanup, and package the waste as hazardous material.
Another scenario could involve a biological spill in a centrifuge room, where the correct response includes restricted access, suitable disinfectant contact time, and proper biohazard disposal.
Supervisors should review each exercise for response time, communication, PPE use, and procedural accuracy.
Any gaps should lead to updated procedures or refresher coaching.
This continuous improvement approach turns lab spill kit usage training into an active safety system rather than a one-time induction topic.
In the end, lab spill kit usage training protects people, experiments, equipment, and the wider environment.
It helps laboratories manage risks, strengthen prevention, use PPE correctly, and meet OHSE compliance obligations with confidence.
By combining practical drills, clear procedures, suitable spill kit contents, and regular review, organizations can build a safer response culture where lab spill kit usage training is understood, applied, and valued every day.
No comments yet