 Skip to content

Workplace Hazard Identification is the backbone of every strong safety program. If you don’t find hazards, you can’t control them—and when hazards go unnoticed, people get hurt.
Whether you’re an OHSE professional, supervisor, or front-line worker, having clear, practical rules for Workplace Hazard Identification will help you prevent incidents before they happen and build a safer, more confident workforce.
- 1. Understand the basics of Workplace Hazard Identification
- 2. Follow a structured step-by-step process
- 3. Look for all types of hazards—not just the obvious ones
- 4. Involve workers and safety committees
- 5. Use data: incidents, near misses, and inspection trends
- 6. Pay extra attention to non-routine and high-risk work
- 7. Consider change as a hazard trigger
- 8. Make hazards and controls visible
- 9. Prioritize controls using the hierarchy of controls
- 10. Review, learn, and continuously improve
1. Understand the basics of Workplace Hazard Identification
Before you can improve Workplace Hazard Identification, everyone needs to share the same language.
A hazard is anything with the potential to cause harm—injury, illness, property damage, or environmental impact. A risk is the combination of how likely that harm is and how severe it could be.
Take some time to train your team on what hazards look like in your specific environment. Use examples from your own incidents and near misses, not just generic scenarios.
Free resources from organizations like OSHA and CCOHS can help you explain key concepts and show why a structured approach matters.
When workers understand the “why” behind Workplace Hazard Identification, they are much more likely to participate and speak up when something doesn’t look right.
2. Follow a structured step-by-step process
Hazard spotting should never be random. A repeatable process makes Workplace Hazard Identification consistent, even when different people are doing it.
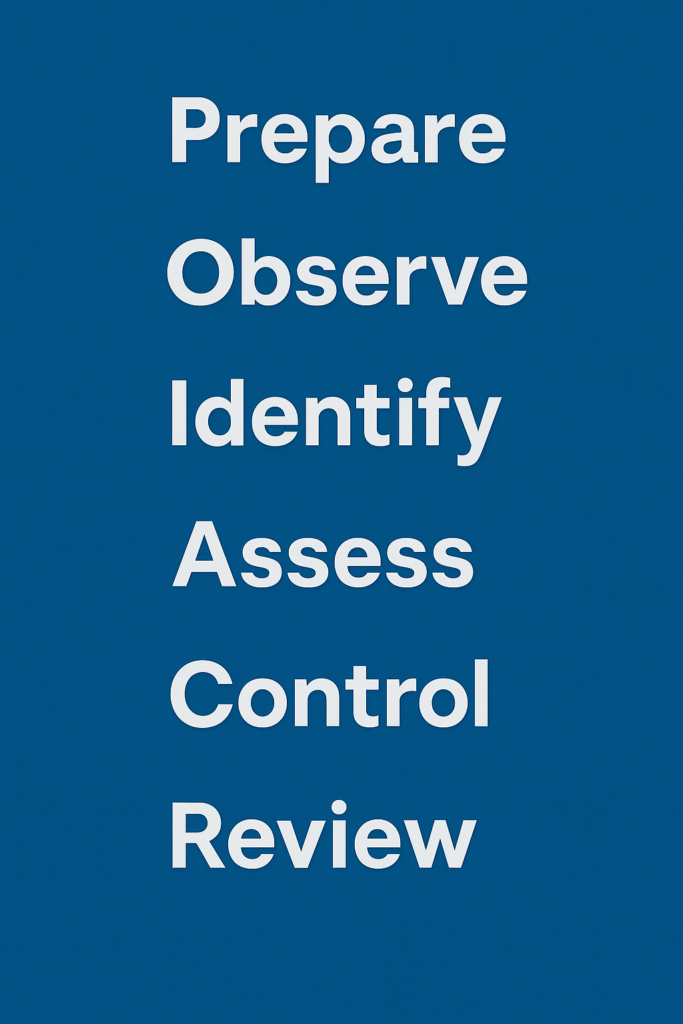
A simple structure could be:
- Prepare – Define the area, task, or process you’re assessing.
- Observe – Walk the area, watch the task, review the process.
- Identify – List all hazards using a checklist or form.
- Assess – Rate the risk (likelihood x severity).
- Control – Decide and assign controls using the hierarchy of controls.
- Review – Verify controls are implemented and effective.
Documenting this process in your OHSE procedure, training workers how to use it, and applying it in job safety analyses or risk assessments creates a strong foundation for Workplace Hazard Identification.
3. Look for all types of hazards—not just the obvious ones
Many inspections only look for physical housekeeping issues like clutter or spills. Effective Workplace Hazard Identification goes much further.
Make sure your assessments actively consider:
- Physical hazards: Noise, vibration, moving parts, hot surfaces, vehicles.
- Chemical hazards: Liquids, vapours, fumes, dusts, gases, cleaning products.
- Biological hazards: Blood and body fluids, mould, bacteria, viruses.
- Ergonomic hazards: Awkward postures, repetitive movements, heavy lifting.
- Psychosocial hazards: Workload, harassment, violence, fatigue, stress.
Using a hazard category checklist during Workplace Hazard Identification helps ensure you don’t miss anything just because it isn’t visible at a glance.
4. Involve workers and safety committees
No one understands the job better than the people doing it. If your Workplace Hazard Identification relies only on supervisors or safety staff, you will miss critical information.
Involve front-line workers, health and safety representatives, and joint committees in inspections, task observations, and risk assessments.
Ask simple, open questions:
- “What part of this job feels most dangerous?”
- “Where do you think someone could get hurt here?”
- “What near misses have we had that we didn’t write down?”
This collaborative approach not only improves Workplace Hazard Identification, it also strengthens your safety culture and builds trust.
5. Use data: incidents, near misses, and inspection trends
Good hazard identification is not just about what you see today; it’s also about what your data has been telling you for years.
Review your incident reports, near-miss logs, inspection findings, and maintenance records before you do a walk-through. Look for repeating themes such as “hand injuries,” “forklift impacts,” or “chemical splashes.”
Tools like simple Excel dashboards or safety software can help visualize patterns, but even a basic manual review is better than nothing. Agencies such as NIOSH share research on common workplace hazards that you can compare against your own trends.
By combining data analysis with field observations, Workplace Hazard Identification becomes a more proactive and predictive process instead of a reactive one.
6. Pay extra attention to non-routine and high-risk work
Most serious incidents occur during non-routine tasks: maintenance, shutdowns, commissioning, cleaning, troubleshooting, or emergency work. These jobs often bypass normal safeguards, use temporary setups, or involve multiple contractors.
Make it a rule that any non-routine, high-risk job requires a specific risk assessment or permit that includes detailed Workplace Hazard Identification.
Examples include:
- Confined space entry
- Hot work
- Working at heights
- Lockout/tagout activities
- Work near live traffic or energized equipment
Embedding Workplace Hazard Identification into permits, method statements, or job safety analyses for these tasks is one of the most powerful controls you have.
7. Consider change as a hazard trigger
Any change—no matter how small—can introduce new hazards. A new machine, a different chemical, a revised procedure, staffing changes, or construction work nearby can all affect risk.
Build “Management of Change” into your safety system so that Workplace Hazard Identification is automatically triggered whenever you:
- Introduce new equipment or materials
- Change layouts or flow of people and vehicles
- Modify processes, work methods, or schedules
- Introduce new technology or software that affects work
A short pre-change checklist can help you identify hazards early, rather than discovering them after an incident.
8. Make hazards and controls visible
If hazards aren’t visible, people forget about them. Once you’ve completed Workplace Hazard Identification, communicate it clearly on the shop floor and in the field. Use:
- Labels and pictograms on equipment and containers
- Floor markings and traffic lines
- Signage at entry points and high-risk areas
- Simple one-page summaries of key hazards and controls at each workstation
Consider sharing more detailed guidance or toolbox talk materials through your internal website or learning platform.
For example, an OHSE resource hub such as OHSE.ca can host articles, checklists, and templates that your workers can access anytime.
The more visible your findings are, the more likely people will remember and follow the controls.
9. Prioritize controls using the hierarchy of controls
Finding hazards is only half the job. Workplace Hazard Identification must always lead to action.
Use the hierarchy of controls to guide your decisions:
- Elimination – Remove the hazard entirely.
- Substitution – Replace with something less hazardous.
- Engineering controls – Isolate people from the hazard.
- Administrative controls – Procedures, training, scheduling, signage.
- Personal protective equipment – Last line of defence.
During risk assessments, challenge yourself and your team: “Can we eliminate or substitute before we jump straight to PPE?” External guidance from standards organizations like ISO and national regulators can help you align your control strategies with best practice.
When workers see that Workplace Hazard Identification leads to real improvements—not just paperwork—they take the process more seriously.
10. Review, learn, and continuously improve
Workplaces evolve, and so do risks. Treat Workplace Hazard Identification as a living process, not a one-time project.
Schedule regular reviews of your risk assessments, at least annually or when major changes occur.
Check whether:
- Identified hazards are still relevant and complete
- Controls are in place, used correctly, and effective
- New hazards have emerged from changes, projects, or technology
- Lessons from incidents and near misses are reflected in your documents
Use these reviews to update training material, toolbox talks, and internal articles so your workforce is always working with current information.
Over time, this creates a cycle where Workplace Hazard Identification feeds improvement, and improvement encourages even better identification.
Bringing it all together
Strong Workplace Hazard Identification doesn’t happen by accident. It is the result of clear rules, consistent processes, engaged workers, and continuous learning.
By understanding hazard types, using data, focusing on non-routine tasks, integrating change management, and applying the hierarchy of controls, you set your organization up for fewer injuries and a healthier, more productive workforce.
Make these 10 golden rules part of your daily practice, and you will see a tangible difference in how people think, talk, and act around risk—all driven by better Workplace Hazard Identification.
No comments yet