
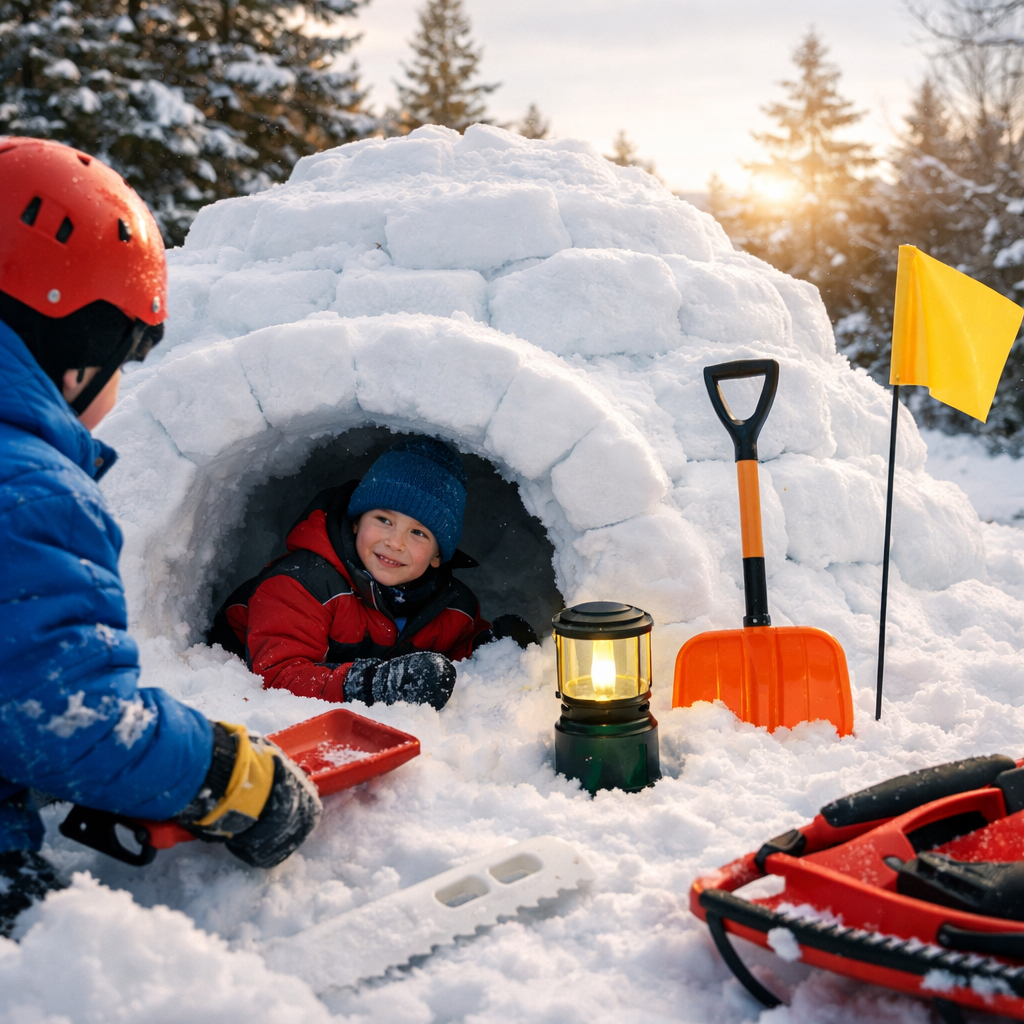

Snow fort safety matters any time children, families, students, or youth groups dig, pile, or play in snow structures during a Canadian winter. Snow forts can be fun, creative, and active, but they can also create serious hazards if walls collapse, visibility is poor near roads or parking areas, or people stay outside too long in cold, wet conditions.
For parents, schools, supervisors, and community groups, the goal is not to remove winter play. It is to make smart choices about where forts are built, how they are used, and when play should stop. A practical approach to snow fort safety helps reduce risk while keeping winter activities enjoyable and age-appropriate.
If your school, family, or youth program includes outdoor winter activities, it can also help to review broader seasonal guidance from OHSE.ca, along with trusted Canadian resources from CCOHS, Ontario.ca, and Parachute. Where staff orientation or safety learning is part of planning, OHSE training resources may also be useful.
Why snow fort safety deserves careful planning
Snow forts can look harmless, but snow behaves differently depending on temperature, moisture, and how tightly it has been packed. A tunnel or roof that seems solid at first can weaken as children climb on it, as temperatures change, or as the structure becomes wetter over time.
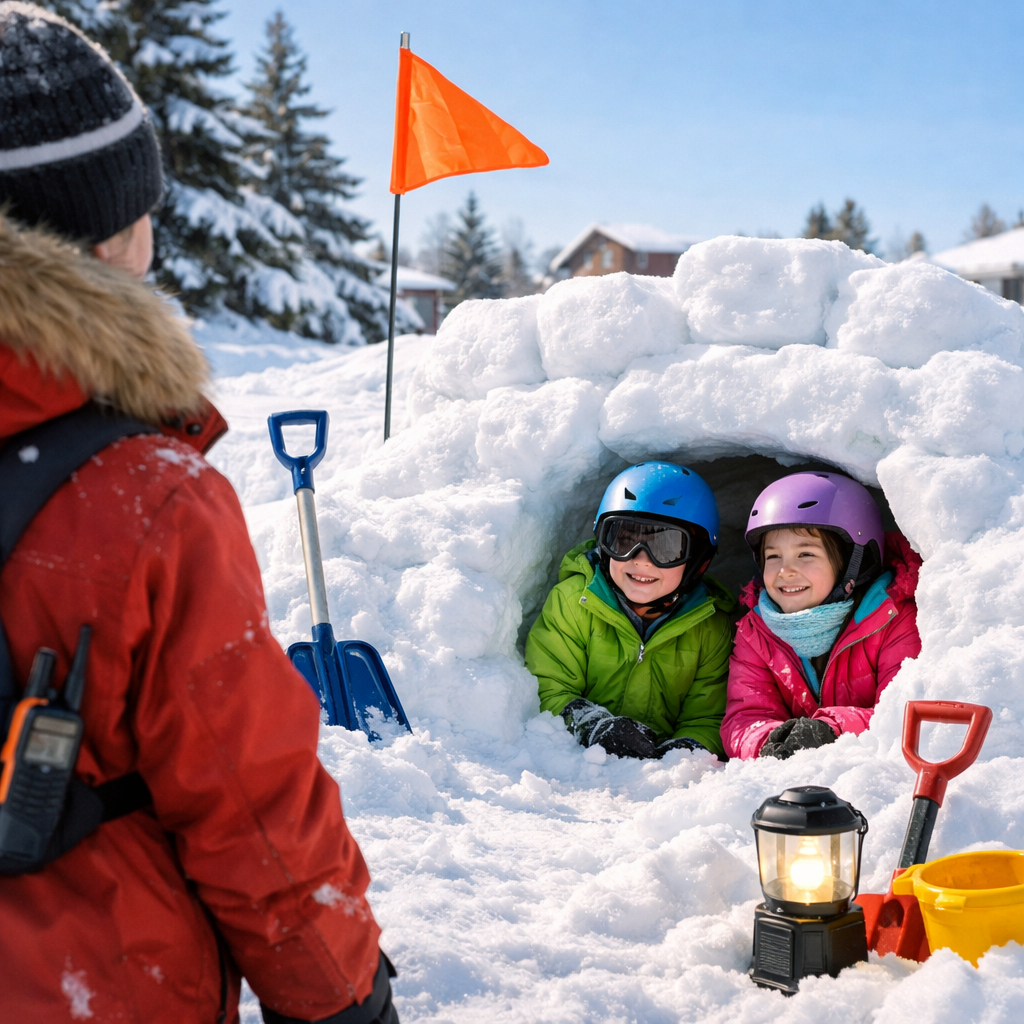
This is why snow fort safety should focus first on prevention. The safest snow fort is usually a low, open structure with short walls and no enclosed roof or deep tunnel. In practical terms, that means avoiding designs that can trap a child if snow shifts or collapses.
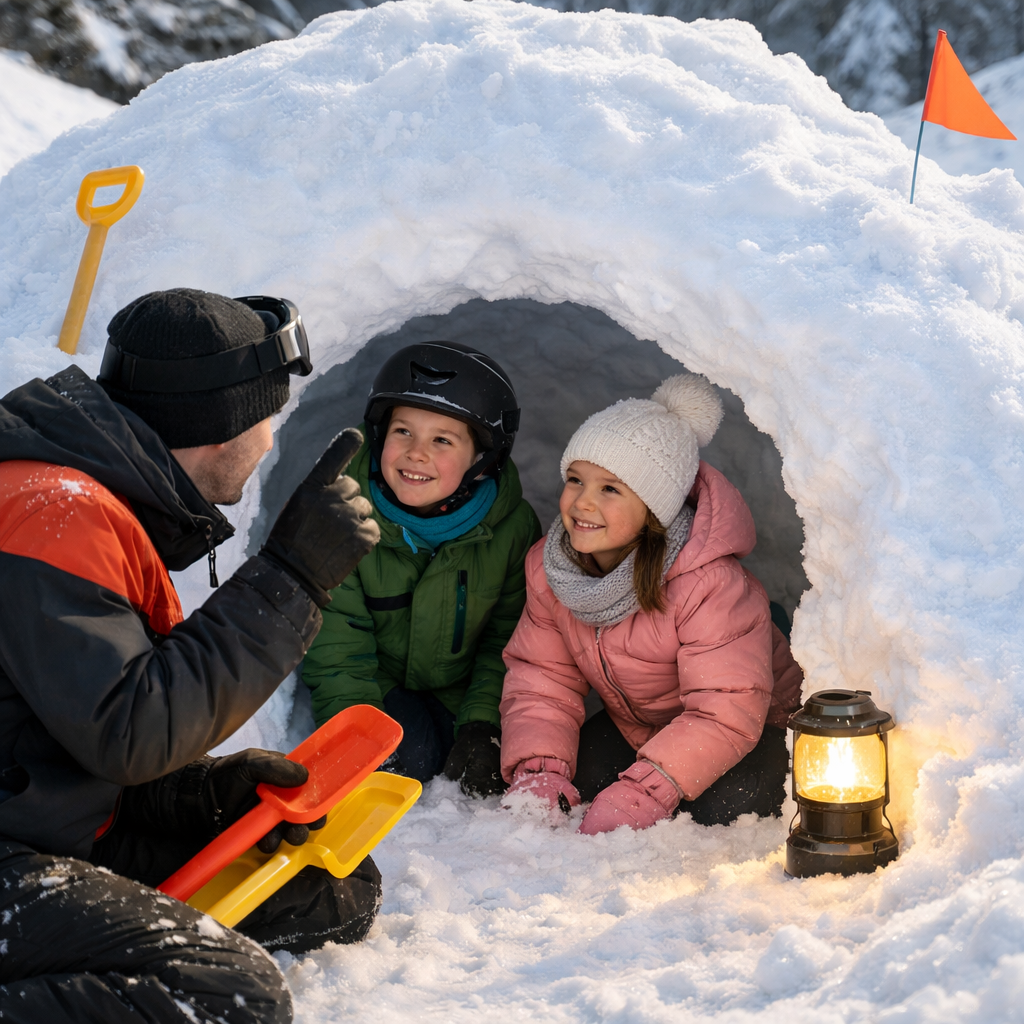
For schools and organized settings in Ontario and across Canada, supervisors should think in the same way they would for any outdoor activity: identify hazards, assess who may be exposed, apply simple controls, and monitor conditions as they change. This is similar to the hazard-awareness approach promoted by organizations such as CCOHS.
Use the hierarchy of controls in a simple way
You do not need a complicated system to apply the hierarchy of controls to snow forts. The idea is to control the biggest risks first.
- Elimination: Do not allow tunnels, roofs, or enclosed chambers that could collapse and trap someone.
- Substitution: Choose low snow walls or open play features instead of enclosed forts.
- Engineering controls: Build away from roads, parking lots, snowbanks near plows, and areas where vehicles move.
- Administrative controls: Set clear rules, supervision levels, time limits, and weather-related stop points.
- Personal protective measures: Dress warmly, stay dry, and use waterproof gloves, boots, and layered clothing.
Preventing collapse hazards in snow forts
The most important part of snow fort safety is avoiding collapse risk. Children may naturally want to dig caves, carve doorways, or create roofs, but those features increase danger. Snow can harden into heavy slabs, and even a small collapse can cover a face or chest, making breathing difficult and escape harder.
Open designs are much safer. Encourage children to build short walls, simple barriers, or small above-ground shapes that do not require anyone to crawl inside. If a structure starts to lean, crack, sag, or soften, stop using it right away and take it down.
Safer building rules for schools and families
- Keep forts low and open to the air.
- Do not build roofs, ceilings, or overhead arches.
- Do not dig tunnels into snowbanks or plowed piles.
- Do not let children jump on top of forts or climb over walls.
- Check the structure often as weather changes through the day.
- Take apart damaged or unstable sections immediately.
Snowbanks created by plows deserve special caution. They may contain dense, uneven, or icy layers that are much less predictable than freshly piled snow. They can also hide debris, ice chunks, or hard-packed areas that make collapse or impact injuries more likely.
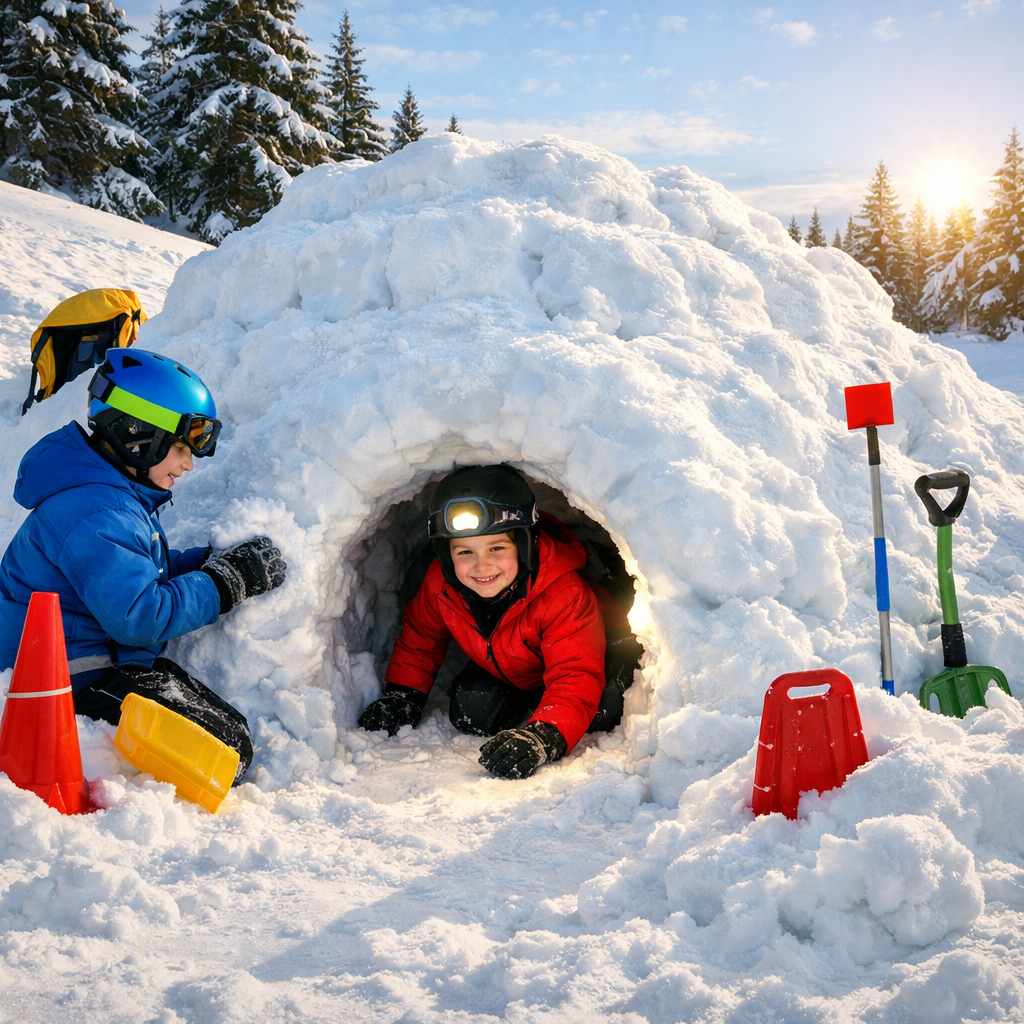
Snow fort safety near roads, driveways, and parking lots
Location is another major part of snow fort safety. A fort built close to a road, school bus zone, laneway, farm path, or parking area can create visibility problems for both children and drivers. Snow walls can block sightlines, and children may dart out from behind a fort into the path of a vehicle, sled, bicycle, or snow-clearing equipment.
For that reason, forts should be built well away from traffic routes, including places used by delivery vehicles, maintenance equipment, or snowplows. This matters at schools, apartment properties, workplaces with family events, and private homes.
Choose a safer location
Pick an area with open visibility and active supervision. Avoid places beside streets, intersections, driveways, parking lots, retaining walls, frozen ditches, or areas where snow is piled for removal. If children are playing at recess or during a community program, adults should be able to see the entire fort area clearly.
| Location | Safer Choice? | Why |
|---|---|---|
| Open schoolyard away from vehicle routes | Yes | Better visibility and easier supervision |
| Beside a driveway or parking lot | No | Traffic and sightline hazards |
| Plowed roadside snowbank | No | Collapse risk and proximity to traffic |
| Play area near snow-clearing equipment | No | Struck-by and visibility hazards |
Where local school boards, municipalities, or property owners have winter play rules, follow them. In a workplace or community setting, supervisors should also follow site-specific procedures and keep children out of active snow-removal zones.
Reducing cold-exposure hazards during snow fort play
Snow fort safety is not only about structure stability. Cold exposure can become a problem when children are outside for long periods, clothing gets wet, wind increases, or activity levels drop. Younger children may not notice early warning signs, and teens may stay outside too long if they are focused on building.
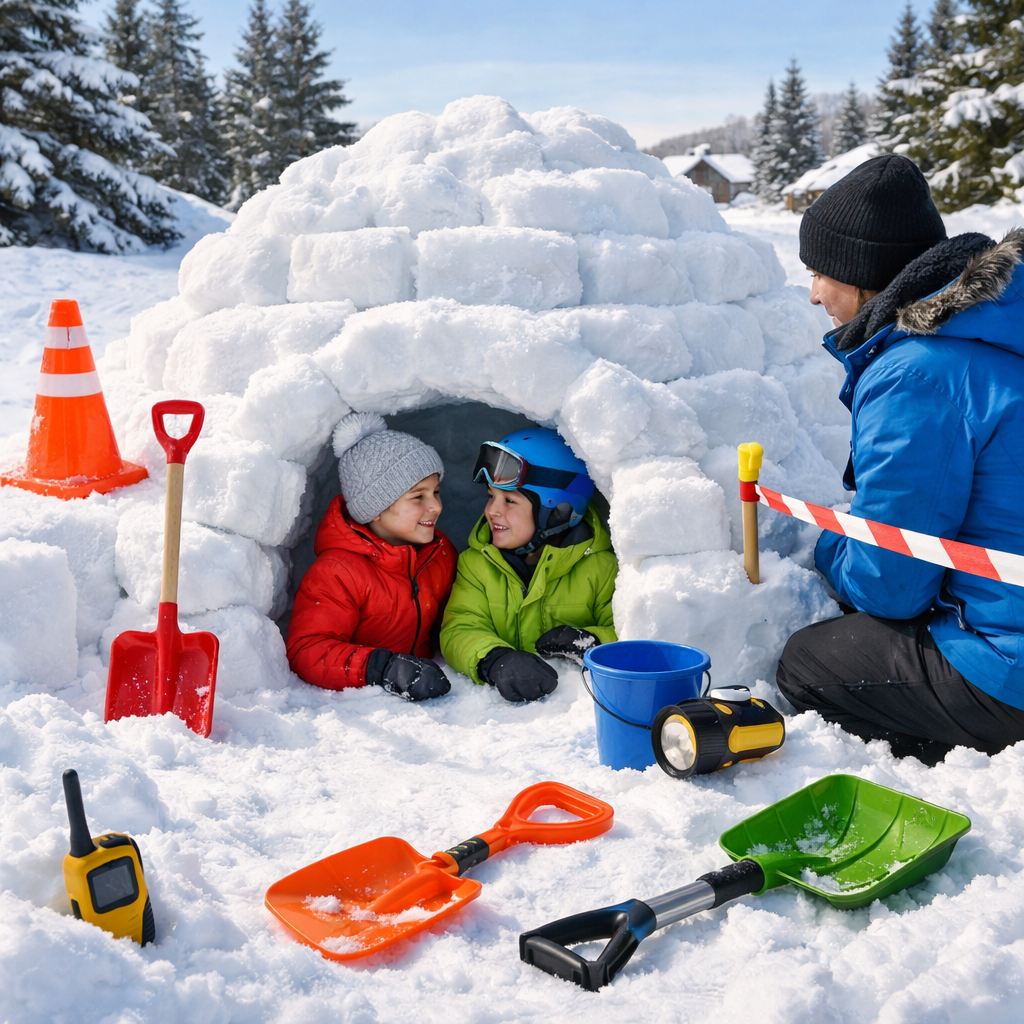
Dress in layers that can be adjusted as conditions change. Waterproof gloves or mittens, boots, hats, and dry outerwear are important because wet clothing increases heat loss. Take regular warm-up breaks indoors, especially during very cold, windy, or damp weather.
Watch for practical warning signs
- Shivering that does not improve with movement
- Numb fingers, toes, ears, or cheeks
- Wet gloves, socks, or pant legs
- Complaints of pain from cold
- Tiredness, poor coordination, or unusual quietness
If a child appears very cold, stop the activity, move to a warm place, and follow local school, workplace, parent, or emergency guidance as appropriate. Avoid trying to diagnose medical conditions. The practical response is to get the person warm, dry, and supervised, and seek further help according to your local procedures.
For older students and young workers helping with winter events, planning matters too. Outdoor supervisors should know break schedules, weather limits, and who is responsible for checking clothing, attendance, and changing conditions.
Snow fort safety checklist for parents, schools, and youth groups
A short checklist can make snow fort safety easier to apply consistently.
Before building
- Choose an open area away from roads, driveways, and plowed snowbanks.
- Set a rule for low, open forts only.
- Assign active adult or staff supervision.
- Check weather, wind, and temperature conditions.
During play
- Do not allow tunnels, roofs, or enclosed spaces.
- Stop climbing, jumping, or rough play on the fort.
- Monitor for cracking, sagging, or melting.
- Watch for wet clothing and signs of cold stress.
After play
- Take apart unstable sections.
- Bring children indoors to warm up and dry off.
- Review what worked and update rules if needed.
In the end, snow fort safety is about keeping winter fun simple, visible, warm, and supervised. Low open forts, traffic-aware location choices, and regular cold-weather breaks go a long way toward preventing collapse, struck-by, and exposure hazards. For Canadian families, schools, and youth programs, a calm prevention-first approach makes snow fort safety practical and effective throughout the winter season.
No comments yet